

Okay, here’s my blog post about removing the fairing on my Street Glide, written in a casual, personal-experience style:
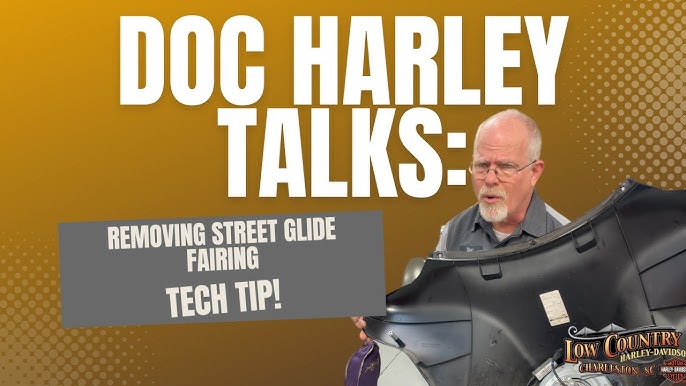
So, I decided to tackle the fairing removal on my Street Glide the other day. Needed to get in there to mess with the audio system, and let me tell you, it’s a bit more involved than you might think, but totally doable. Don’t be scared, just take it slow.
Getting Started
First things first, I made sure I had a good workspace. Plenty of light, and I laid down an old blanket to keep from scratching anything. I also grabbed my tools, a Phillips screwdriver, and a Torx set, also the owner’s manual is useful.
The Outer Fairing
- Windshield Removal: I started by taking off the windshield. There were just three screws holding that on, came off super easy. I put the screws somewhere I know and wouldn’t lose them, that is, in a magnetic bowl.
- Outer Fairing Screws: Next, I looked for the screws holding the outer fairing in place. There were a couple on each side, near the handlebars, and some more down lower. I just kept my eyes peeled and found ’em all. Take your time and look carefully.
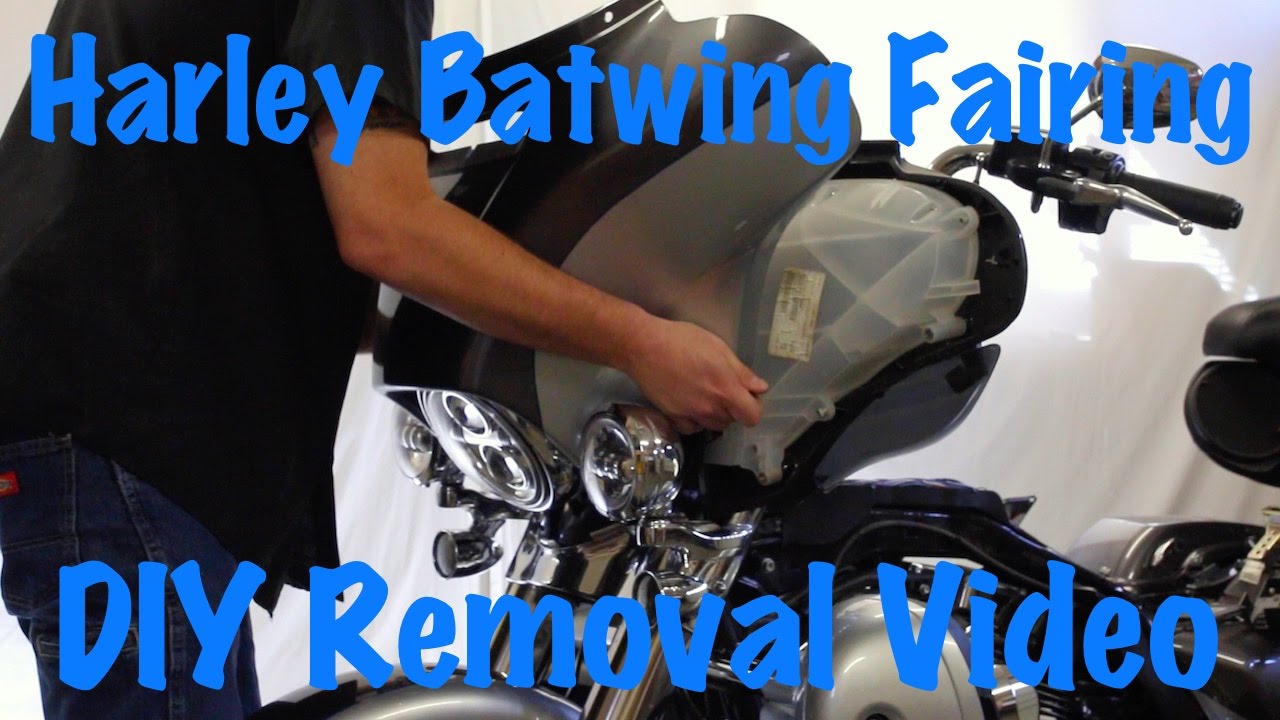
- Careful Wiggle: Once all the screws were out, it was time to actually take the fairing off. I gave it a gentle wiggle, pulling it straight out towards me. There are some tabs and clips, so don’t force it. I just wiggled it a bit until it popped free.
Disconnecting Stuff
With the outer fairing off, I could see all the wiring and stuff. I didn’t need to disconnect everything, but I took my time to unplug the main headlight connector, and any other wires that looked like they’d be in the way. I try to take a picture with my phone before I unplug anything, just in case I forget where it goes later.
The Inner Fairing (If Needed)
I did need to mess with the inner fairing. It was a bit more of the same. More screws to find and remove. Again, I just took my time and kept track of all the screws.
Putting It Back Together
Putting it back together was basically the reverse. I lined up the inner fairing, put the screws back in. Then I lined up the outer fairing, making sure those tabs and clips clicked into place. Finally, windshield back on, and done!
The whole thing took me a bit, but it wasn’t super difficult. Just be patient, keep track of your screws, and don’t force anything. You got this!