
")
Man, those old grips on my mountain bike were totally shot. Sticky, ripped, basically disintegrating in my hands. Time for an upgrade! So, I decided to swap them out myself. Figured, how hard could it be, right?
First, I gathered my stuff. I had the new grips, of course. Also grabbed a can of WD-40, some paper towels, and a flathead screwdriver – just in case. I didn’t have any special tools, so I was going to be figuring this out as I went.
Getting the Old Grips Off
I started with the right-side grip, since that seemed easier. Initially, I just tried pulling and twisting, but that thing was STUCK. No budging. So, I grabbed the WD-40, the universal problem solver.
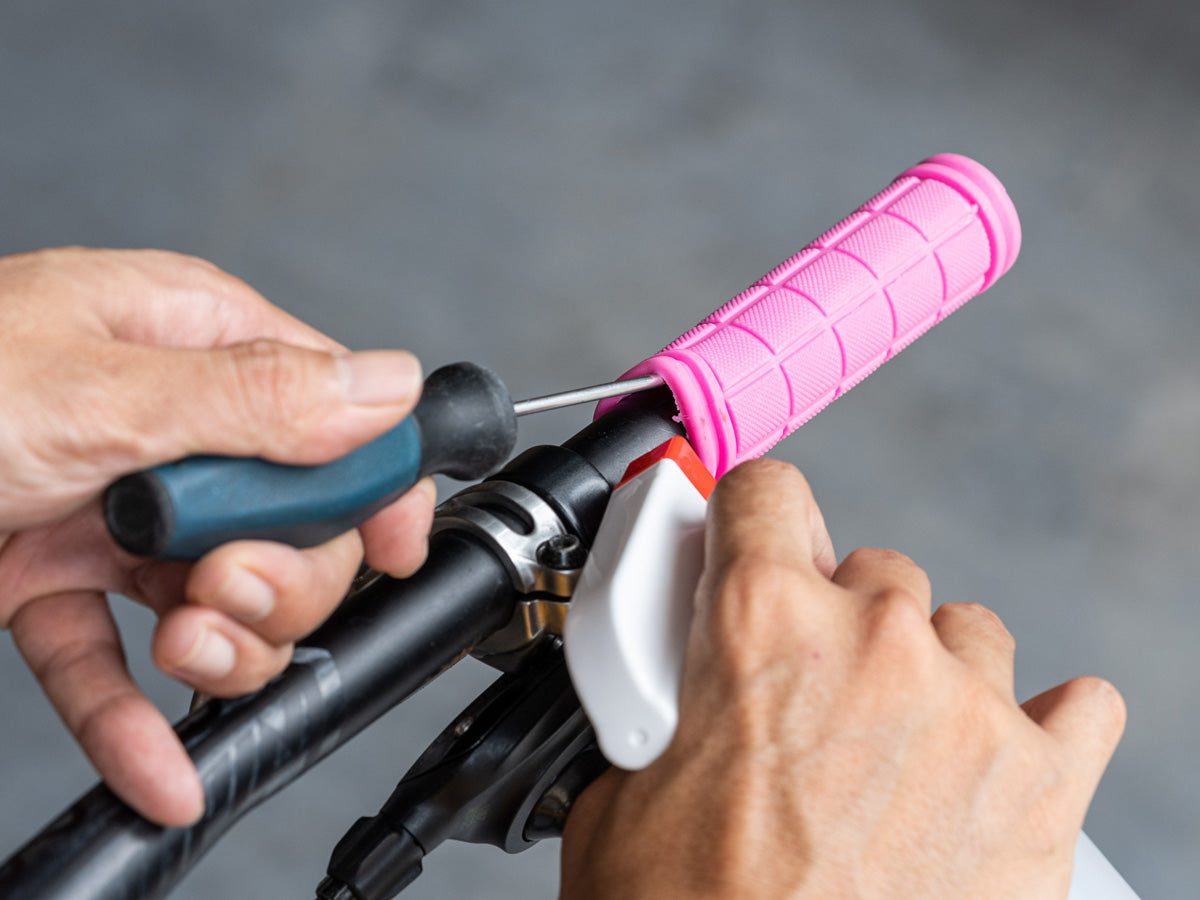
I carefully sprayed a little bit of WD-40 under the edge of the grip, where it met the handlebar. I used the little red straw thingy to get it in there good. Then, I wiggled the screwdriver under the edge a bit, just to help the WD-40 work its way in.
After letting it sit for a couple of minutes, I tried twisting and pulling again. This time, it started to move! A little more twisting and pulling, and with a satisfying pop, the grip came right off. It was surprisingly easy once the WD-40 did its thing.
The left-side grip was the same process. Spray, wait, wiggle, pull. Boom. Off.

Cleaning Up
Before putting on the new grips, I needed to clean up the handlebar. There was a bunch of sticky residue and old gunk left over from the old grips.
I simply sprayed some WD-40 onto a paper towel and then I used it to scrubbed at the residue until it was gone.
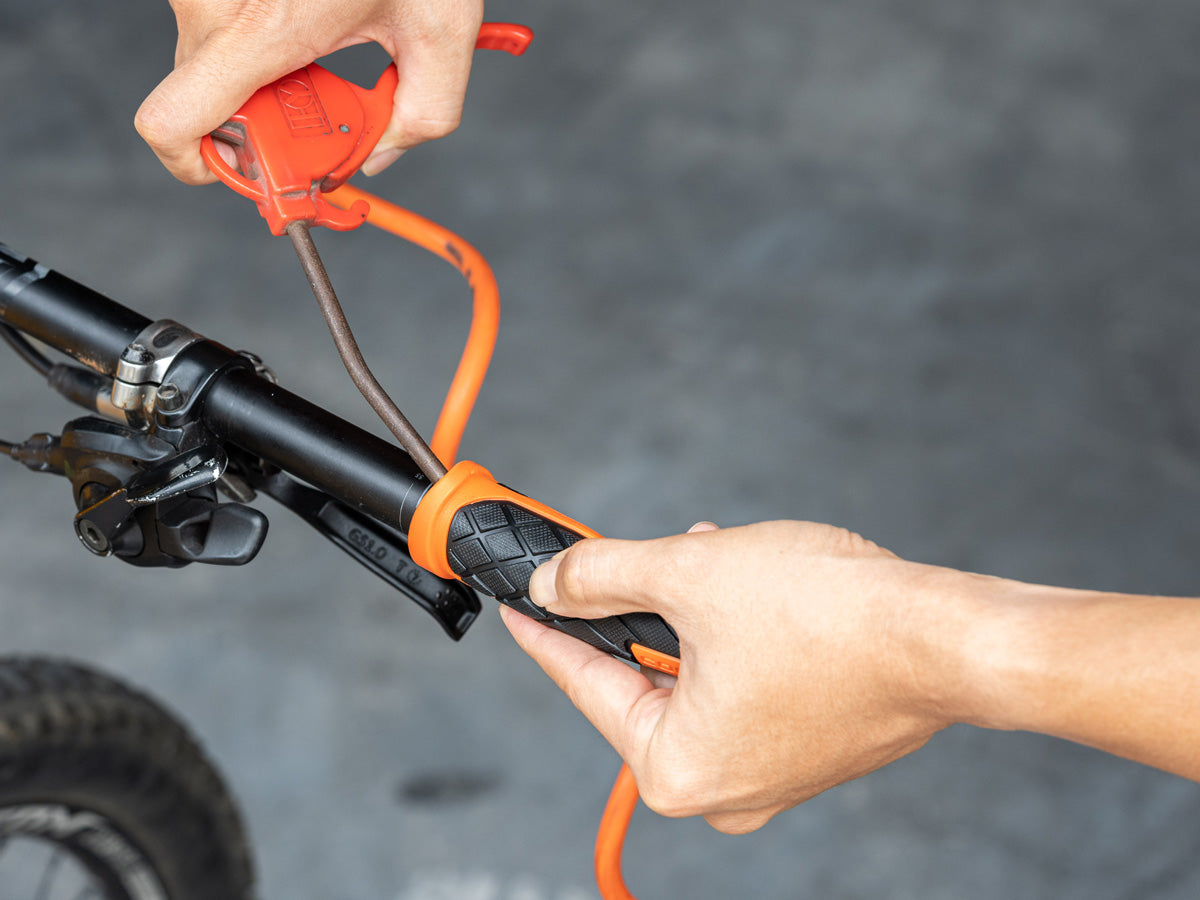
Putting the New Grips On
The new grips I got were the lock-on kind, which means they have little clamps that tighten with an Allen wrench. I figured this would be easier than just shoving them on. I just slid them on the handle and used Allen wrench to tighten it.
And that’s it! New grips installed. The whole process took maybe 20 minutes, and most of that was waiting for the WD-40 to soak in. Now my bike feels brand new, and my hands won’t be covered in sticky goo after every ride.