

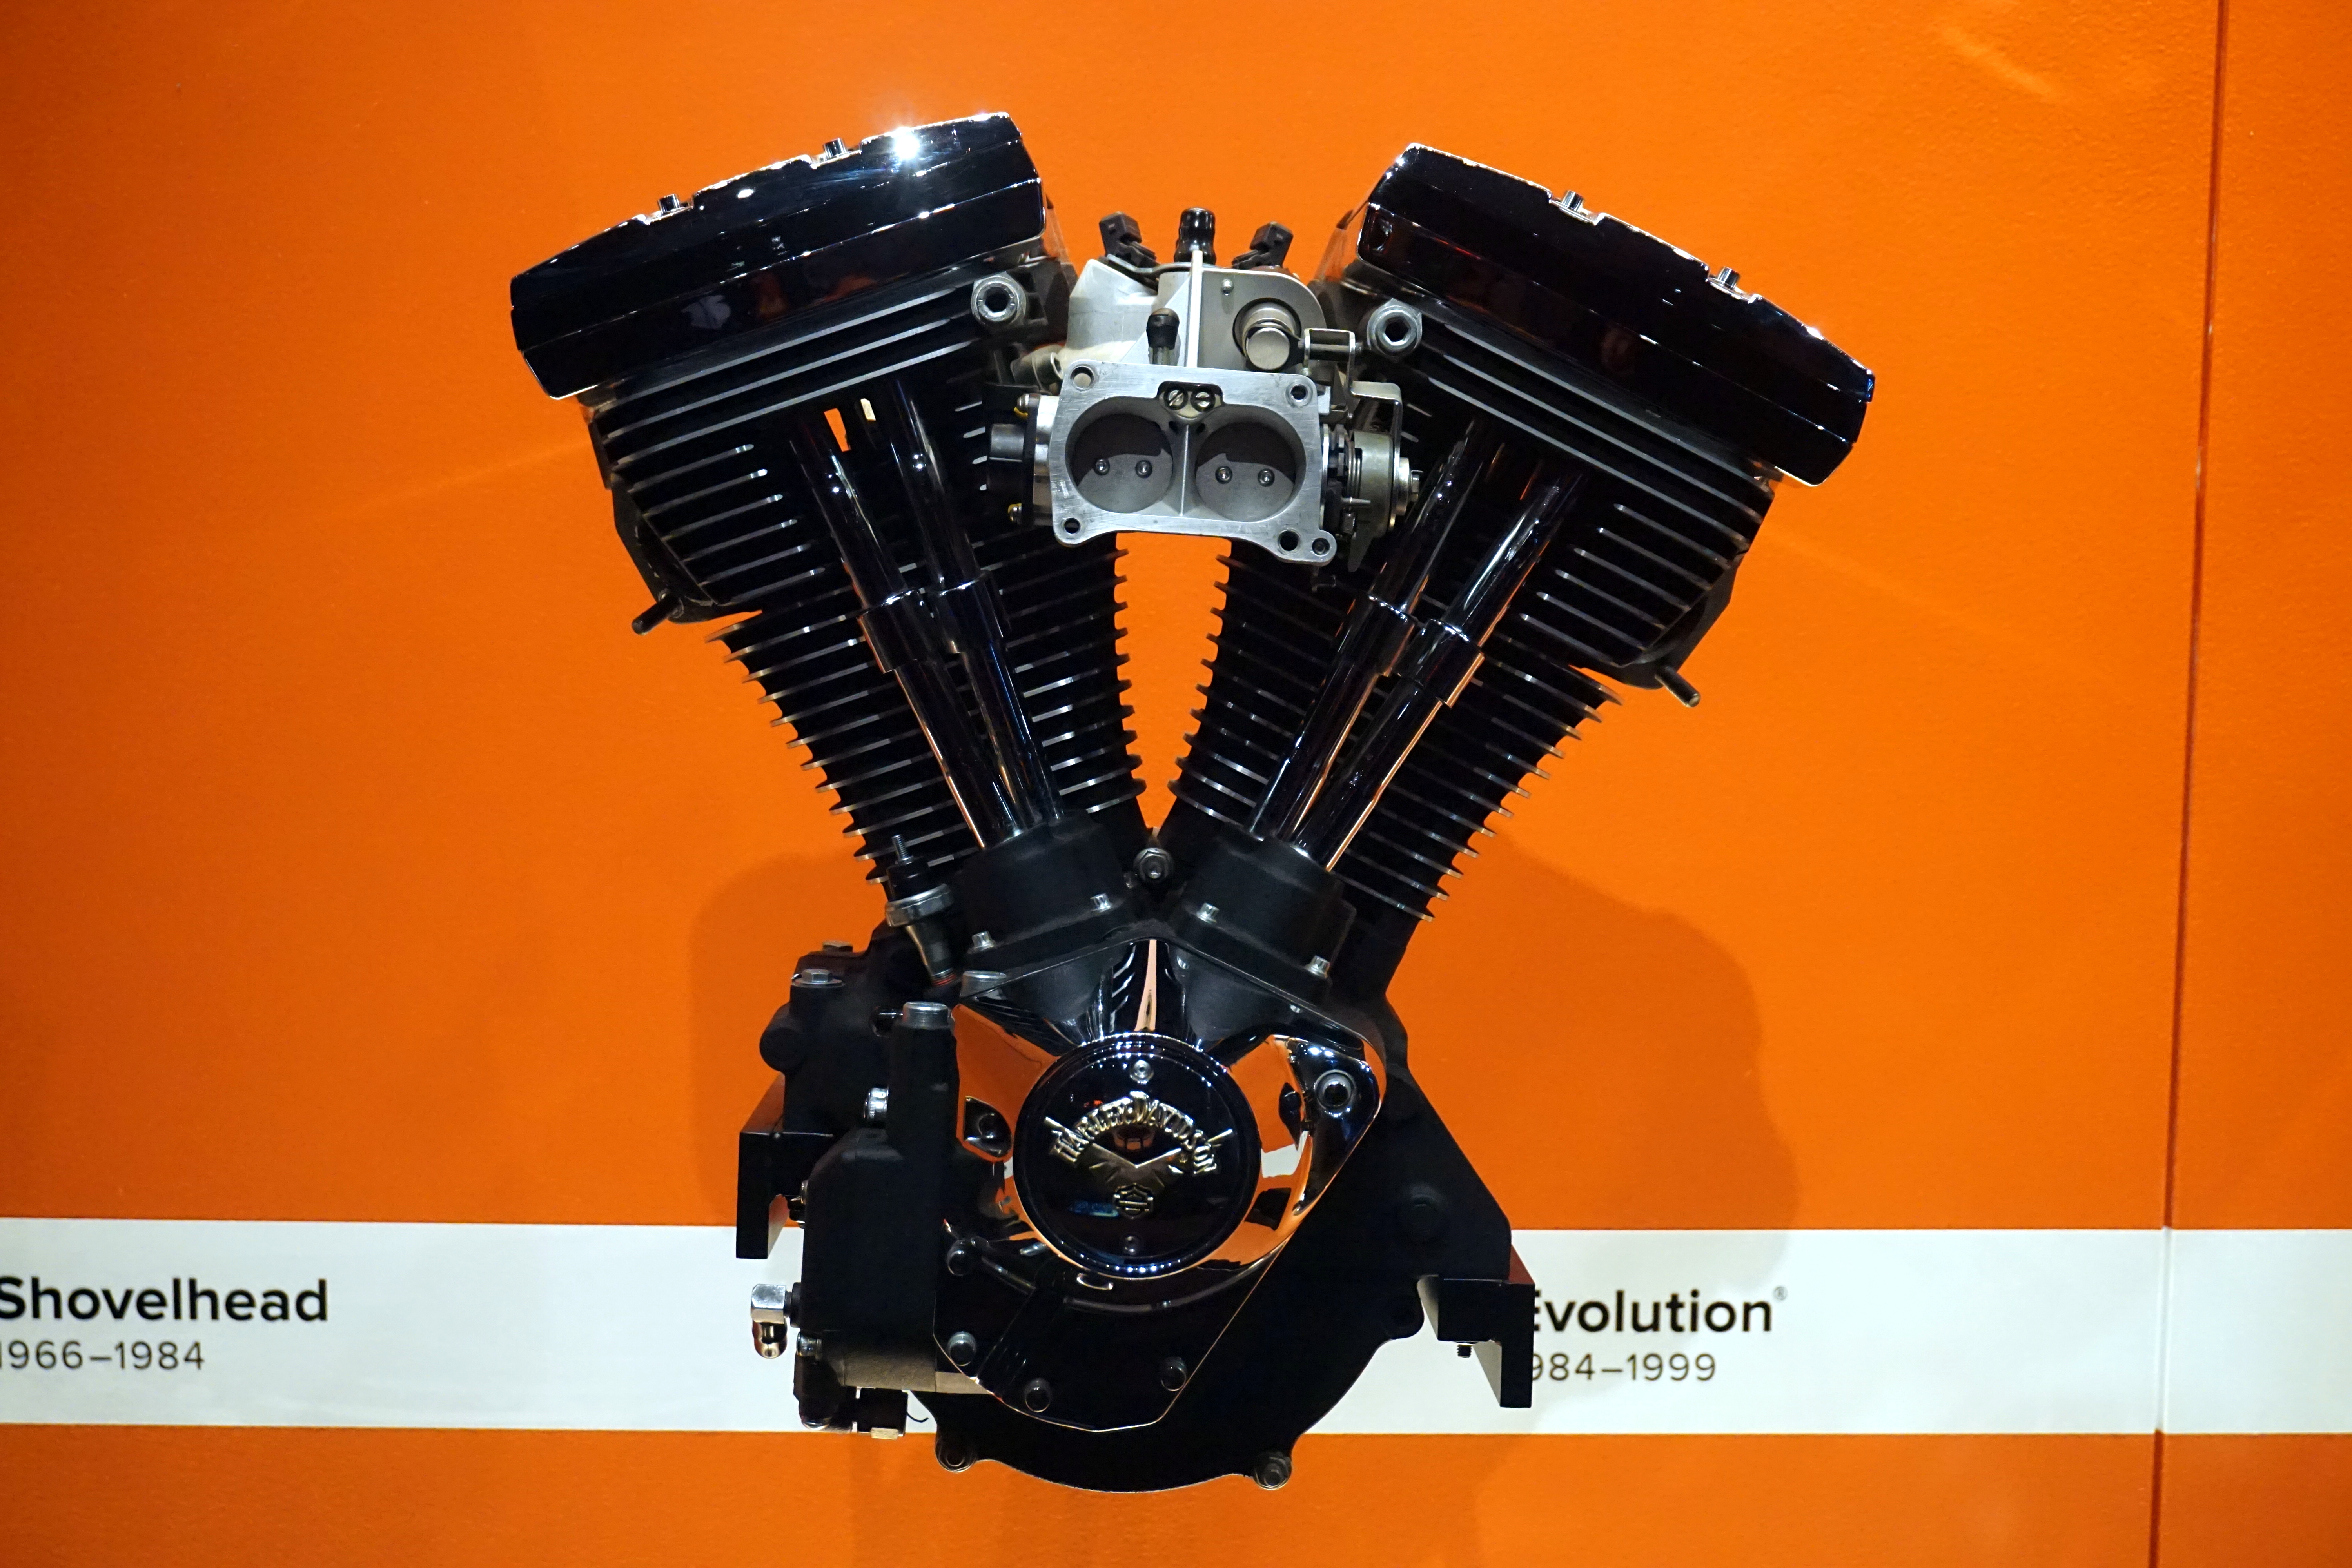
Okay, let’s talk about getting my hands dirty with that Sportster Evo engine. It’s one of those things, you know? You see the bike, you love the look, but eventually, you gotta dive in yourself.
Getting Started
So, I had this Sportster sitting for a bit. Wasn’t running quite right, felt a little tired. Instead of just taking it somewhere, I figured, why not tackle it myself? Always wanted to really know the heart of this machine. Got my tools ready, cleared out a space in the garage. Felt pretty good just making that decision, honestly.
The Teardown
First things first, had to get the engine out of the frame. That was a job in itself. Lots of bolts, wires, hoses. Took pictures along the way so I wouldn’t forget where everything went. Finally got the lump out and onto the workbench. It felt heavy, solid. Then came taking it apart. Piece by piece. Top end first – rocker boxes, heads, cylinders. Found some carbon buildup, expected that. Pulled the pistons. Checked the cylinder walls. Looked okay, but definitely needed a good hone.
The bottom end was next. Splitting the cases is always a bit nerve-wracking. Had to be careful not to mess anything up. Inside, things looked generally alright, but definitely showed their age. Bearings felt a little rough. The oil pump needed a good cleaning and inspection too.
Cleaning and Checking Everything
This part takes forever, but it’s important. Spent hours cleaning every single nut, bolt, and part. Used degreaser, brushes, rags… whatever it took. Laid everything out neatly. Then I started measuring stuff. Checked the crank runout, looked at the cam lobes, measured the piston ring gaps. You find little things, you know? A bit of wear here, something slightly out of spec there. Made a list of parts I needed – gaskets, seals, maybe new rings, bearings for sure.
- Cleaned all the gunk off the cases.
- Scrubbed the pistons and heads.
- Checked all the tolerances I could.
- Made that shopping list for new bits.
Putting It Back Together
Okay, new parts arrived. Time for the fun part: assembly. Started with the bottom end. New bearings pressed in. Carefully put the crank and rods back in, sealed up the cases. Torqued everything down just right, following the manual. Then the oil pump. Cams went in next – getting the timing marks lined up is crucial, gotta triple-check that. Put the cylinders back on, fitted the pistons with new rings. Heads went on top with new gaskets. Torqued the head bolts down in the right sequence. Finally, the rocker boxes. It started looking like an engine again!
Back in the Bike and Firing It Up
Wrestling the engine back into the frame was another sweaty job. Hooked everything back up – exhaust, carb, wiring. Filled it up with fresh oil. Took a deep breath. Turned the key, hit the starter… and bam! It fired up! Rough at first, needed some carb tuning, but it ran. Letting it warm up, listening to it idle… man, that’s a good feeling. Took it for a short ride around the block. Felt strong, responsive. Huge difference.
Doing it yourself, that’s the satisfaction. It wasn’t perfect, maybe a pro could do it faster, but I did it. Learned a ton. Now I know that engine inside and out. Worth every skinned knuckle and late night in the garage.