

OK, so I wanted to make some cool “horse race pictures”. I’ve never really tried something like this before, so it was a bit of an experiment. Let’s see how it all went down.
Getting Started
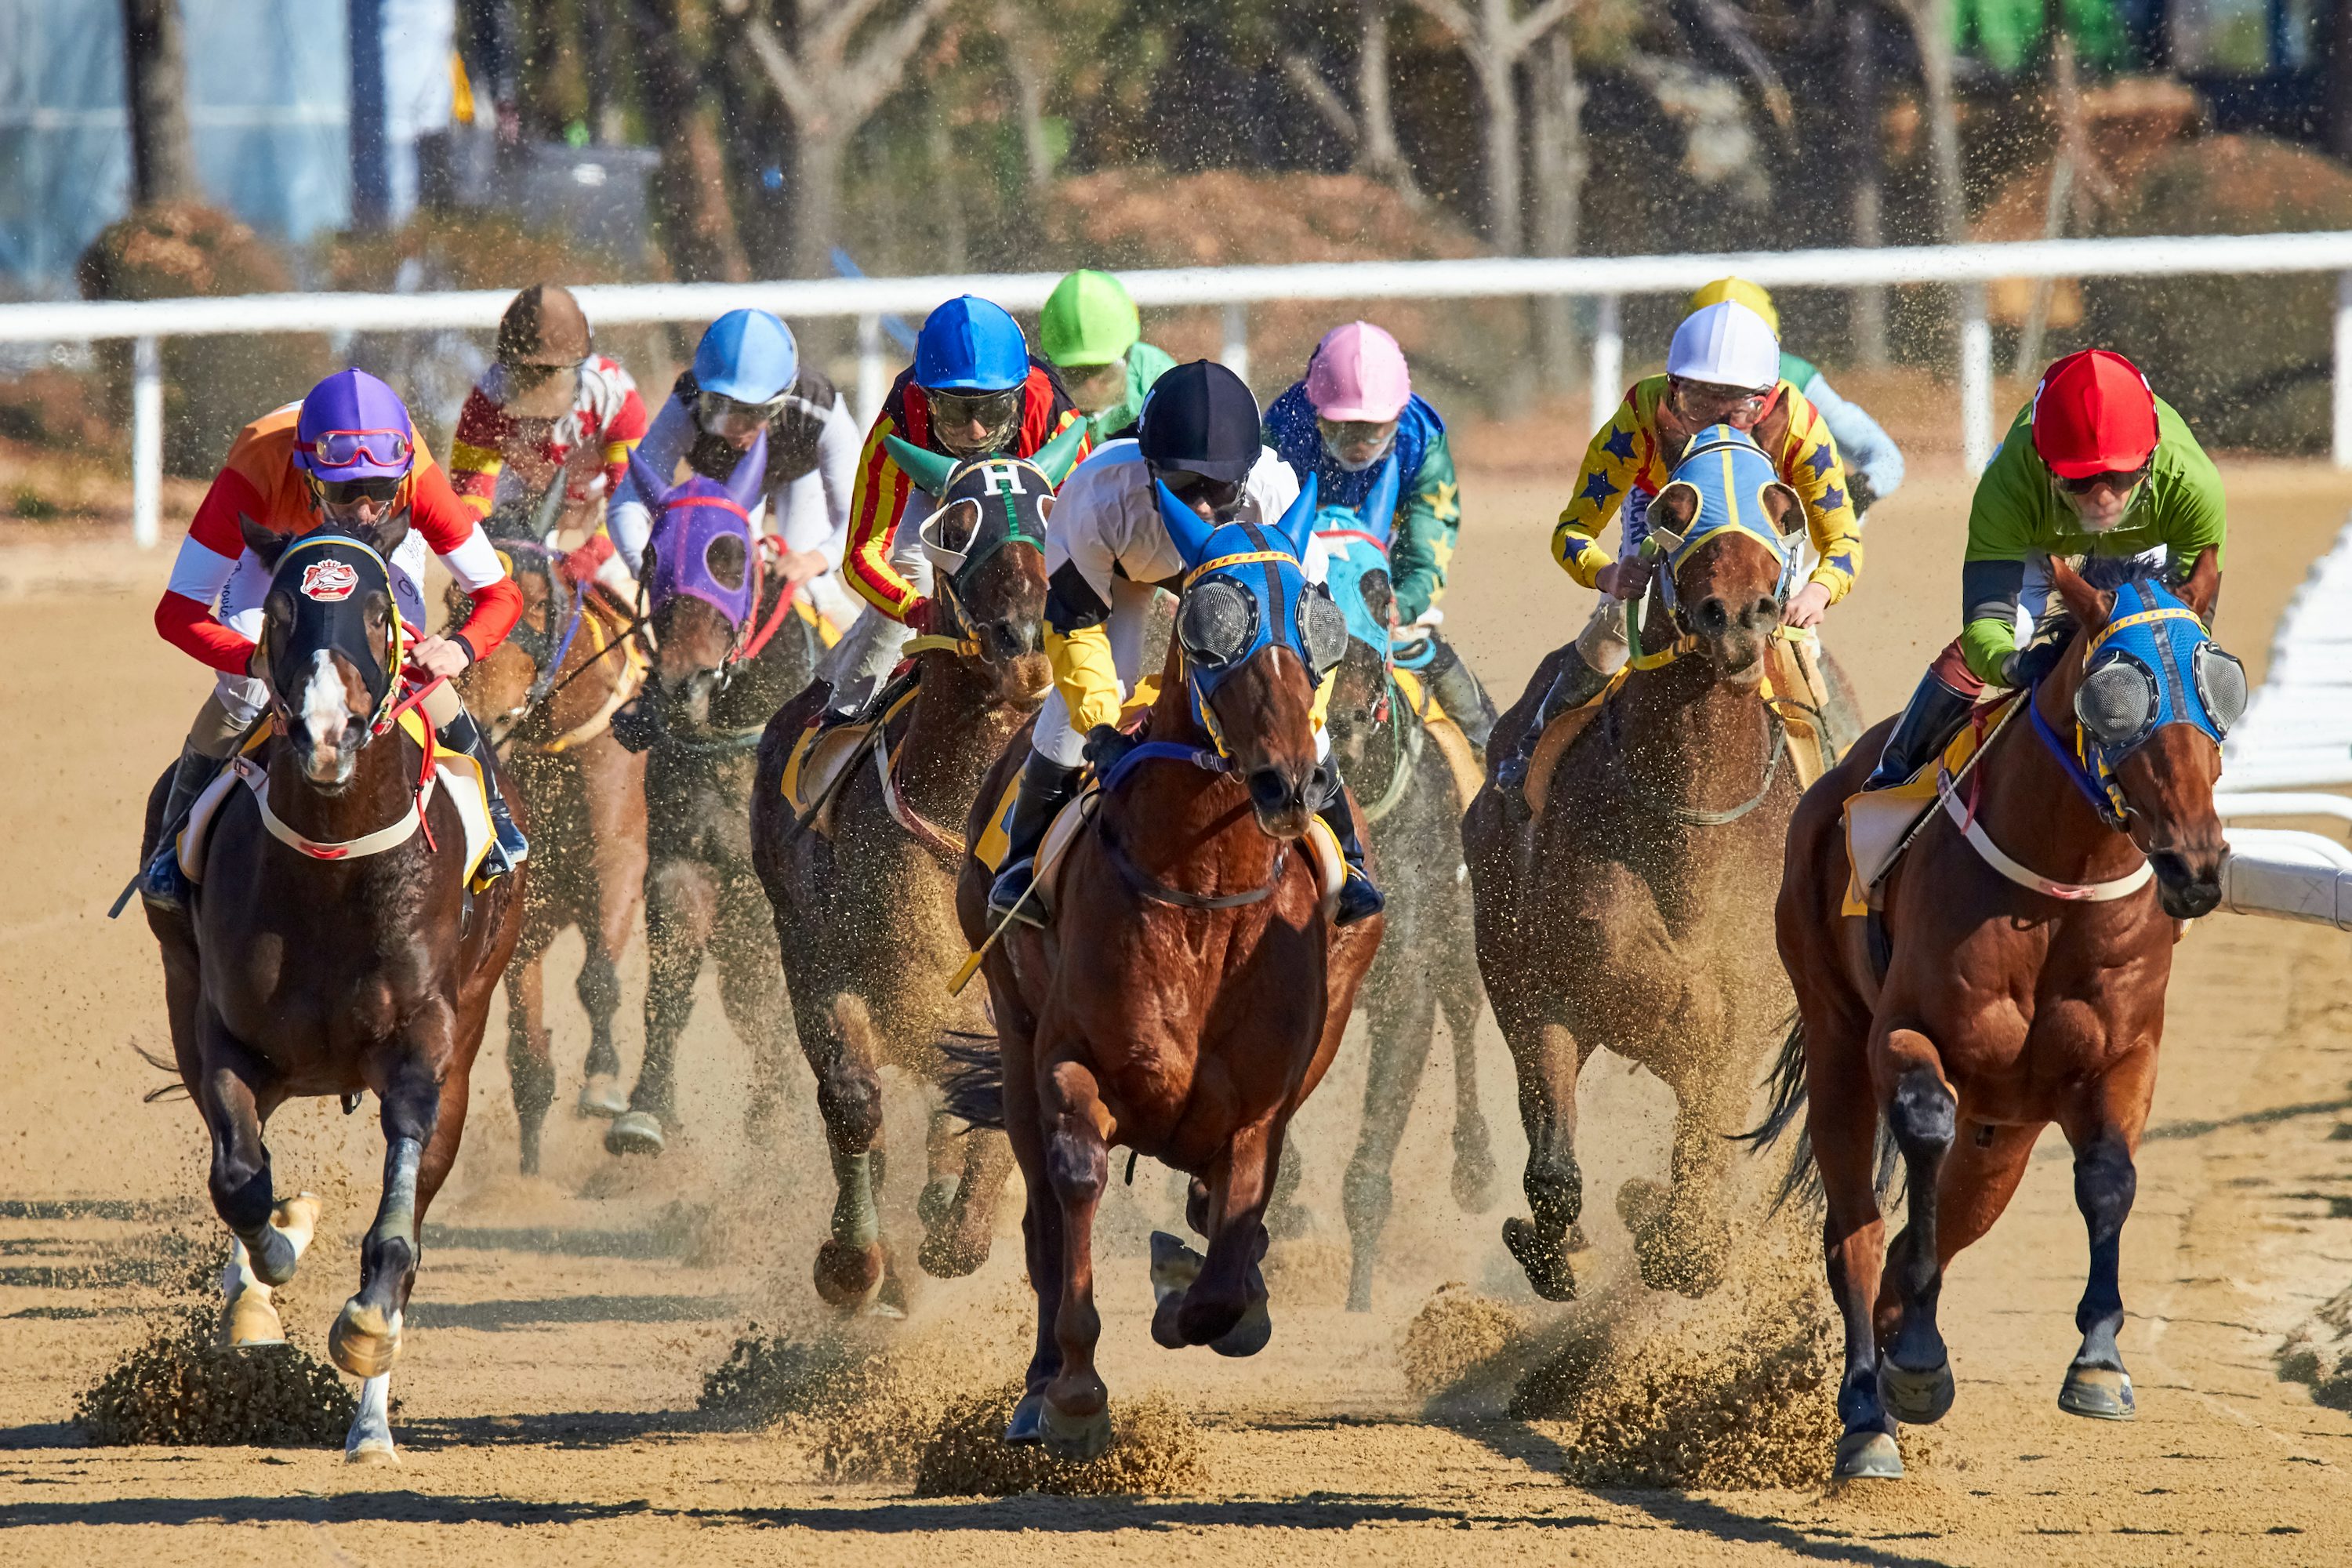
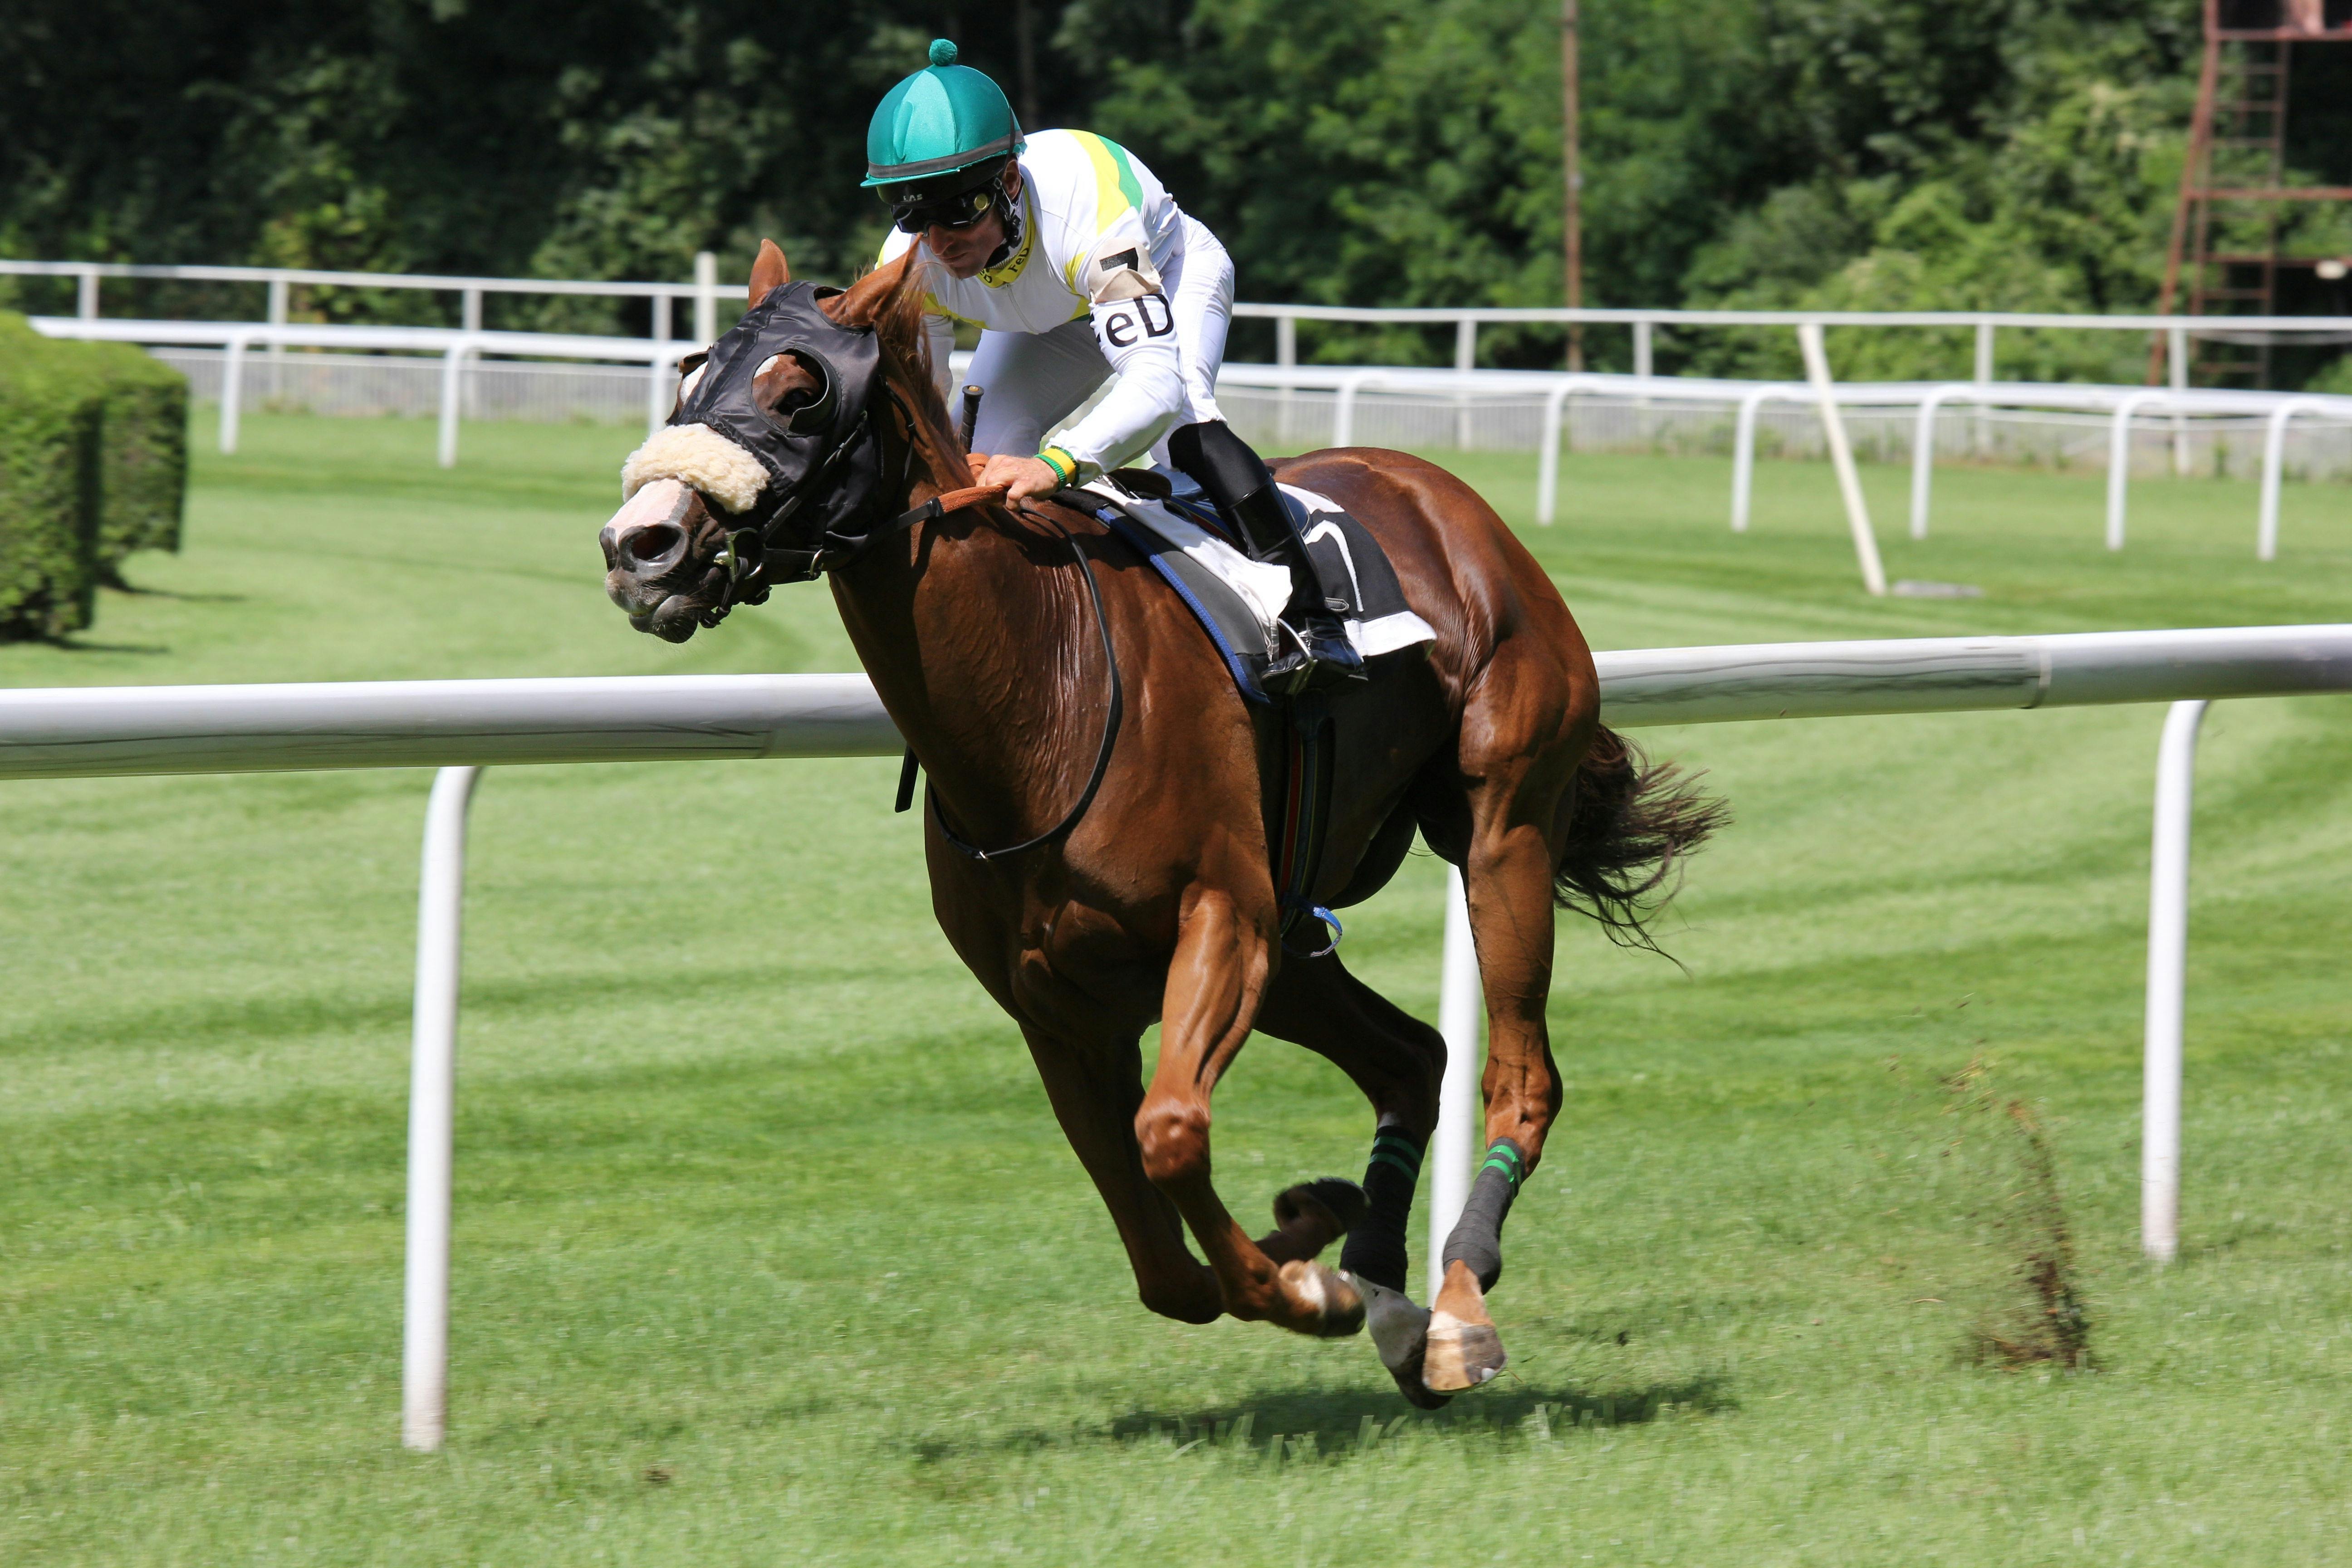
First, I needed some pictures of horses. Obvious, right? I just did some searching around for free-to-use images. I wanted pictures with good action, you know, horses running, dust flying – the whole deal.
Once I had a decent collection of horse photos, I gotta pick the best ones.
- Sharpness: I wanted the horses to be in focus, not all blurry.
- Action: I looked for dynamic poses, like mid-stride or jumping.
- Background: A simple background is best, so the horse really stands out.
Time to edit
After selecting images, it began my editing work, below are my steps:
I opened up my photo editor and started playing around. I’m not a pro at this, so I mostly stuck to the basics:
- Cropping: I trimmed the photos to get the best composition, focusing on the horse.
- Brightness/Contrast: I tweaked these to make the images pop a bit more. Sometimes the photos were a little dark or washed out.
- Saturation: I sometimes boosted the colors a little, especially if the original photo was a bit dull.
So, cropping was pretty straightforward. I just used the crop tool to cut out any extra stuff I didn’t want.
Adjusting brightness and contrast was a bit more trial and error. I just moved the sliders until it looked good to my eye. Same with saturation – I didn’t want to overdo it, just give the colors a little boost.
The Final Result
I’m pretty happy with how they turned out! It was a fun little project, and I learned a few things along the way. I’m not a pro, but, hey, that is what practice for.