

Okay, so today I wanted to mess around with the crankshaft and bearings on my old engine. It’s been sitting in my garage for ages, and I figured it was time to take it apart and see what’s what.
First things first, I gotta get the engine out where I can actually work on it. This thing is heavy! I used my engine hoist, which is basically a big crane, to lift it up and onto an engine stand. That stand is a lifesaver – it lets you spin the whole engine around to get at different parts.
Next up, I started taking off all the stuff that’s bolted to the engine block. You know, the alternator, distributor, intake manifold – all that jazz. I made sure to keep all the bolts and parts organized in little baggies so I wouldn’t lose anything. Been there, done that, it’s a nightmare.
Getting to the Crankshaft
With all the accessories off, I could finally get to the oil pan. I unbolted that and carefully pulled it off. Watch out for dripping oil! Underneath, there it was – the crankshaft! It’s this big, heavy, oddly-shaped thing that turns the pistons’ up-and-down motion into a spinning motion to power the wheels.
Before I could pull the crankshaft out, I had to remove the connecting rods. These are the things that connect the pistons to the crankshaft. Each connecting rod has a cap on the bottom, held on by two nuts. I loosened those nuts and tapped the caps off with a rubber mallet. Don’t use a metal hammer, you could damage things!
Now, the crankshaft is held in place by main bearing caps. These are bigger than the connecting rod caps. I unbolted these, keeping track of which one goes where. They’re usually numbered, which helps.
Inspecting the Bearings and Crankshaft
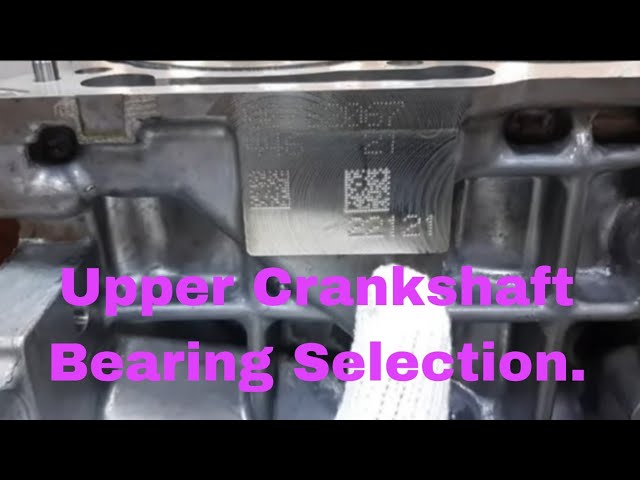
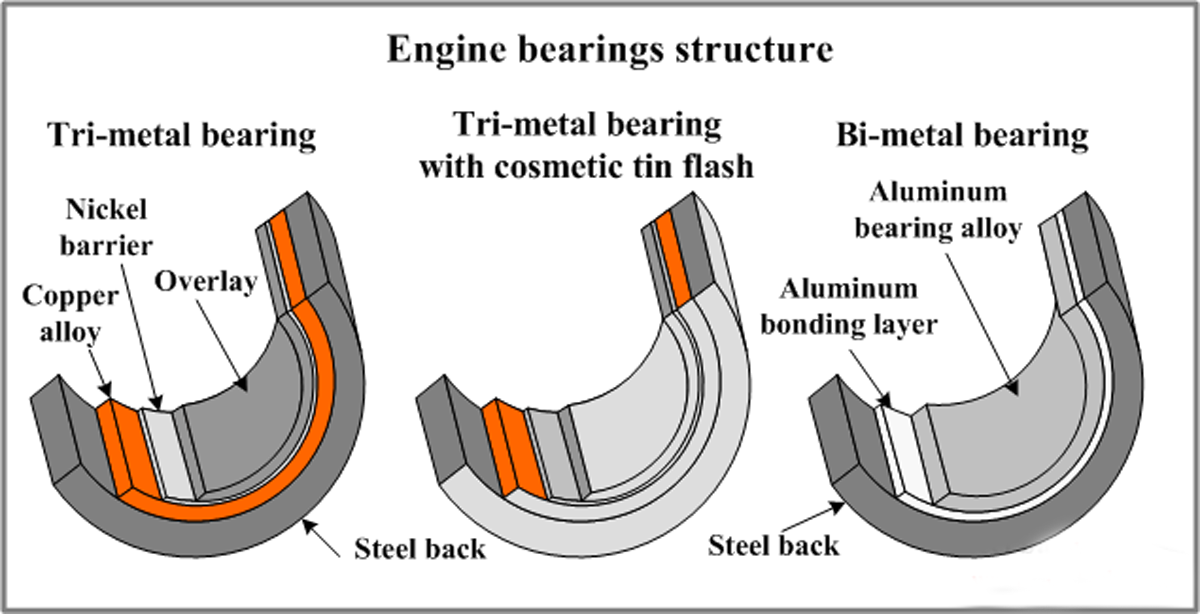
With the main caps off, I could finally lift the crankshaft out. It’s heavy, so be careful! Once it was out, I could get a good look at the bearings. These are smooth, half-circle pieces of metal that sit between the crankshaft and the engine block (and connecting rods). They help the crankshaft spin smoothly.
I inspected the bearings and the crankshaft journals (the parts of the crankshaft where the bearings ride) for any scratches, grooves, or signs of wear. If they’re too worn, they need to be replaced. Mine had some minor wear, but nothing too crazy.
- Used engine hoist to move the engine to a stand.
- Detach accessories.
- Unbolt the oil pan.
- Remove connecting rods.
- Take off main bearing caps.
- Pull the crankshaft.
- Checked bearings and crankshaft for wear.
Putting it all back together is basically the reverse of taking it apart. The main thing is to make sure everything is clean, lubricated, and torqued to the right specs. I usually look up the torque specs in a repair manual. You don’t want to over-tighten or under-tighten anything!
So yeah, that’s how my day went – taking apart an engine and checking out the crankshaft and bearings. It’s messy, but it’s kinda fun to see how things work.