
Okay, here’s my blog post about my experience with the 1972 Honda CL350:
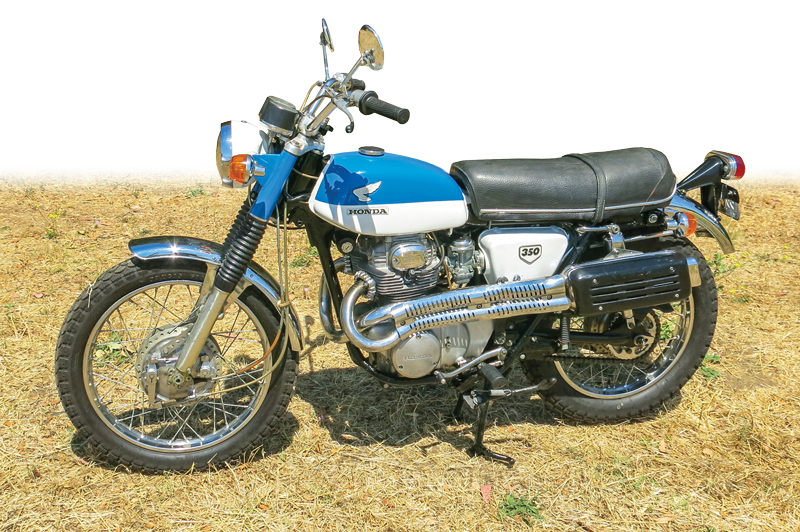
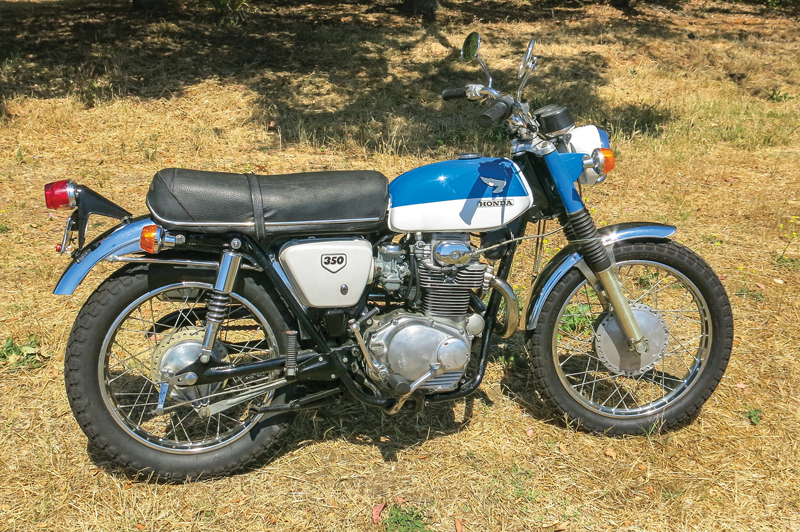
So, I finally got my hands on a 1972 Honda CL350. It was, uh, in rough shape. Let’s just say it had “character.” The previous owner, bless their heart, really tried, but the bike needed some serious TLC. I started by just assessing the damage.
Tear Down Time
I stripped the whole thing down. Took off the tank, the seat, the exhaust… everything. I wanted to see what I was really working with. Found some rust, some dents, and a whole lotta grime. The wiring was, well, it was a mess. A real rat’s nest. I spent a good few hours just untangling wires and trying to figure out what went where.
I ended up labeling every single wire. Seriously, every. Single. One. Little masking tape flags with notes. It looked ridiculous, but it saved me so much headache later. I also bagged and tagged all the bolts and small parts. Ziploc bags are your best friend in a project like this.
Cleaning and Fixing
Next up, I scrubbed. And scrubbed. And scrubbed some more. Years of dirt and gunk had built up on this thing. Used a bunch of degreaser, some wire brushes, and good old-fashioned elbow grease. The frame was a little rusty in spots, so I hit those areas with a wire wheel on my drill to get down to bare metal. Then I gave it a fresh coat of paint to prevent any future rust problems.
The carburetors where the biggest issue, and I took carburetors out,cleaned and rebuilded them.
Putting It Back Together
This was the fun part, finally seeing the bike take shape again. I started with the engine, carefully reassembling all the parts. I’d replaced a few gaskets and seals, so I was hoping for no leaks. Fingers crossed!
Then came the wiring. Remember those labeled wires? They were a lifesaver. I slowly connected everything back up, following my janky little diagram. It wasn’t pretty, but it worked. I also installed a new battery, because the old one was completely dead.
The Moment of Truth
With everything back together, it was time to fire it up. I held my breath, turned the key, and hit the starter. It sputtered a bit, coughed, and then… it roared to life! The sound of that engine, after all that work, was pure music. It was rough and raw, but it was running!
There’s still some fine-tuning to do. The brakes need adjusting, and the timing is probably a little off. But overall, I’m pretty damn proud of what I accomplished. I took a rusty old bike and brought it back to life. It’s not perfect, but it’s mine, and it’s running. That’s what matters.