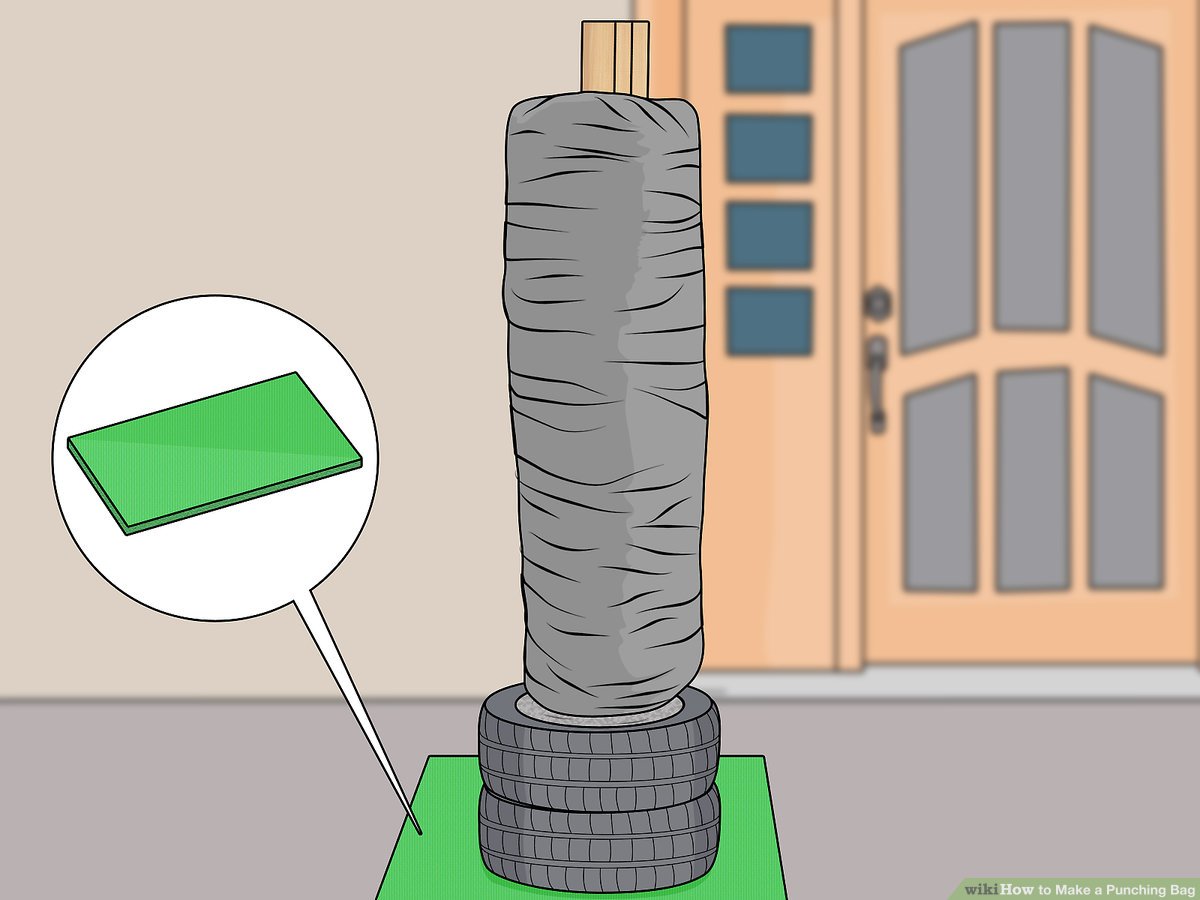
Alright, guys, so I’ve been wanting to get back into some boxing training, but I didn’t want to hang a heavy bag from the ceiling. Too much hassle, and I wasn’t sure my ceiling joists could even handle it. So, I decided to build a heavy bag stand. Let me tell you, it was a bit of a project, but totally doable, even for a DIY newbie like myself.

Gathering Supplies
First things first, I had to figure out what I needed. After looking at a few ideas online, I made a shopping list. I went with:
- Wood: I grabbed some 4x4s for the main frame, and some 2x4s for support. I wasn’t too picky about the type of wood, just got whatever was cheapest and looked sturdy enough.
- Sandbags: These are key for keeping the stand from tipping over. I got four, each about 50 pounds.
- Hardware: This was a bit of a trip to the hardware store. I got a bunch of screws, bolts, washers, and some heavy-duty eye bolts to hang the bag from. Oh, and some wood glue, can’t forget that!
- Tools: Luckily, I had most of the tools I needed already: a drill, a saw (a circular saw made things way easier), a wrench, and a level. Make sure you have safety glasses too!
Building the Base
I started with the base. The idea is to create a solid, heavy bottom so the whole thing doesn’t go flying when you hit the bag. I cut the 4x4s to create a rectangular frame, basically like a big, flat “H”. Used plenty of wood glue and screws to put it all together. It wasn’t pretty, but it was solid. I made sure to let the glue dry completely before moving on.
Building the Frame
Next up, the upright part. I attached two more 4x4s to the base, making sure they were perfectly vertical. Used the level to check, and added some 2×4 braces at angles for extra support. Think of it like building a really sturdy, oversized sawhorse. More glue, more screws, and a lot of checking to make sure everything was square and level.
Hanging the Bag
Once the frame was solid, it was time to hang the bag. I screwed in those heavy-duty eye bolts at the top of the frame, making sure they were really secure. Then, I used some chain and carabiners (those strong clips) to hang the bag from the eye bolts. This part took a bit of adjusting to get the bag at the right height.
Adding Weight
Finally, the crucial step: adding weight to the base. I placed those sandbags on the bottom frame, making sure the weight was evenly distributed. This is what keeps the stand from tipping over when you’re wailing on the bag. You might need more or less weight depending on how heavy your bag is and how hard you hit.

The First Test (and Some Adjustments)
With everything in place, I gave the bag a few test punches. It wobbled a bit more than I liked, so I added a few more 2×4 braces to the frame. And I realized I might want to get a couple more sandbags, just to be extra safe. It is a good idea to go slow when you first try it out.
So, there you have it! My homemade heavy bag stand. It’s not winning any beauty contests, but it’s sturdy, functional, and it lets me get a good workout in. Plus, I built it myself, which is always a good feeling. If I can do it, you can do it. Good luck!


