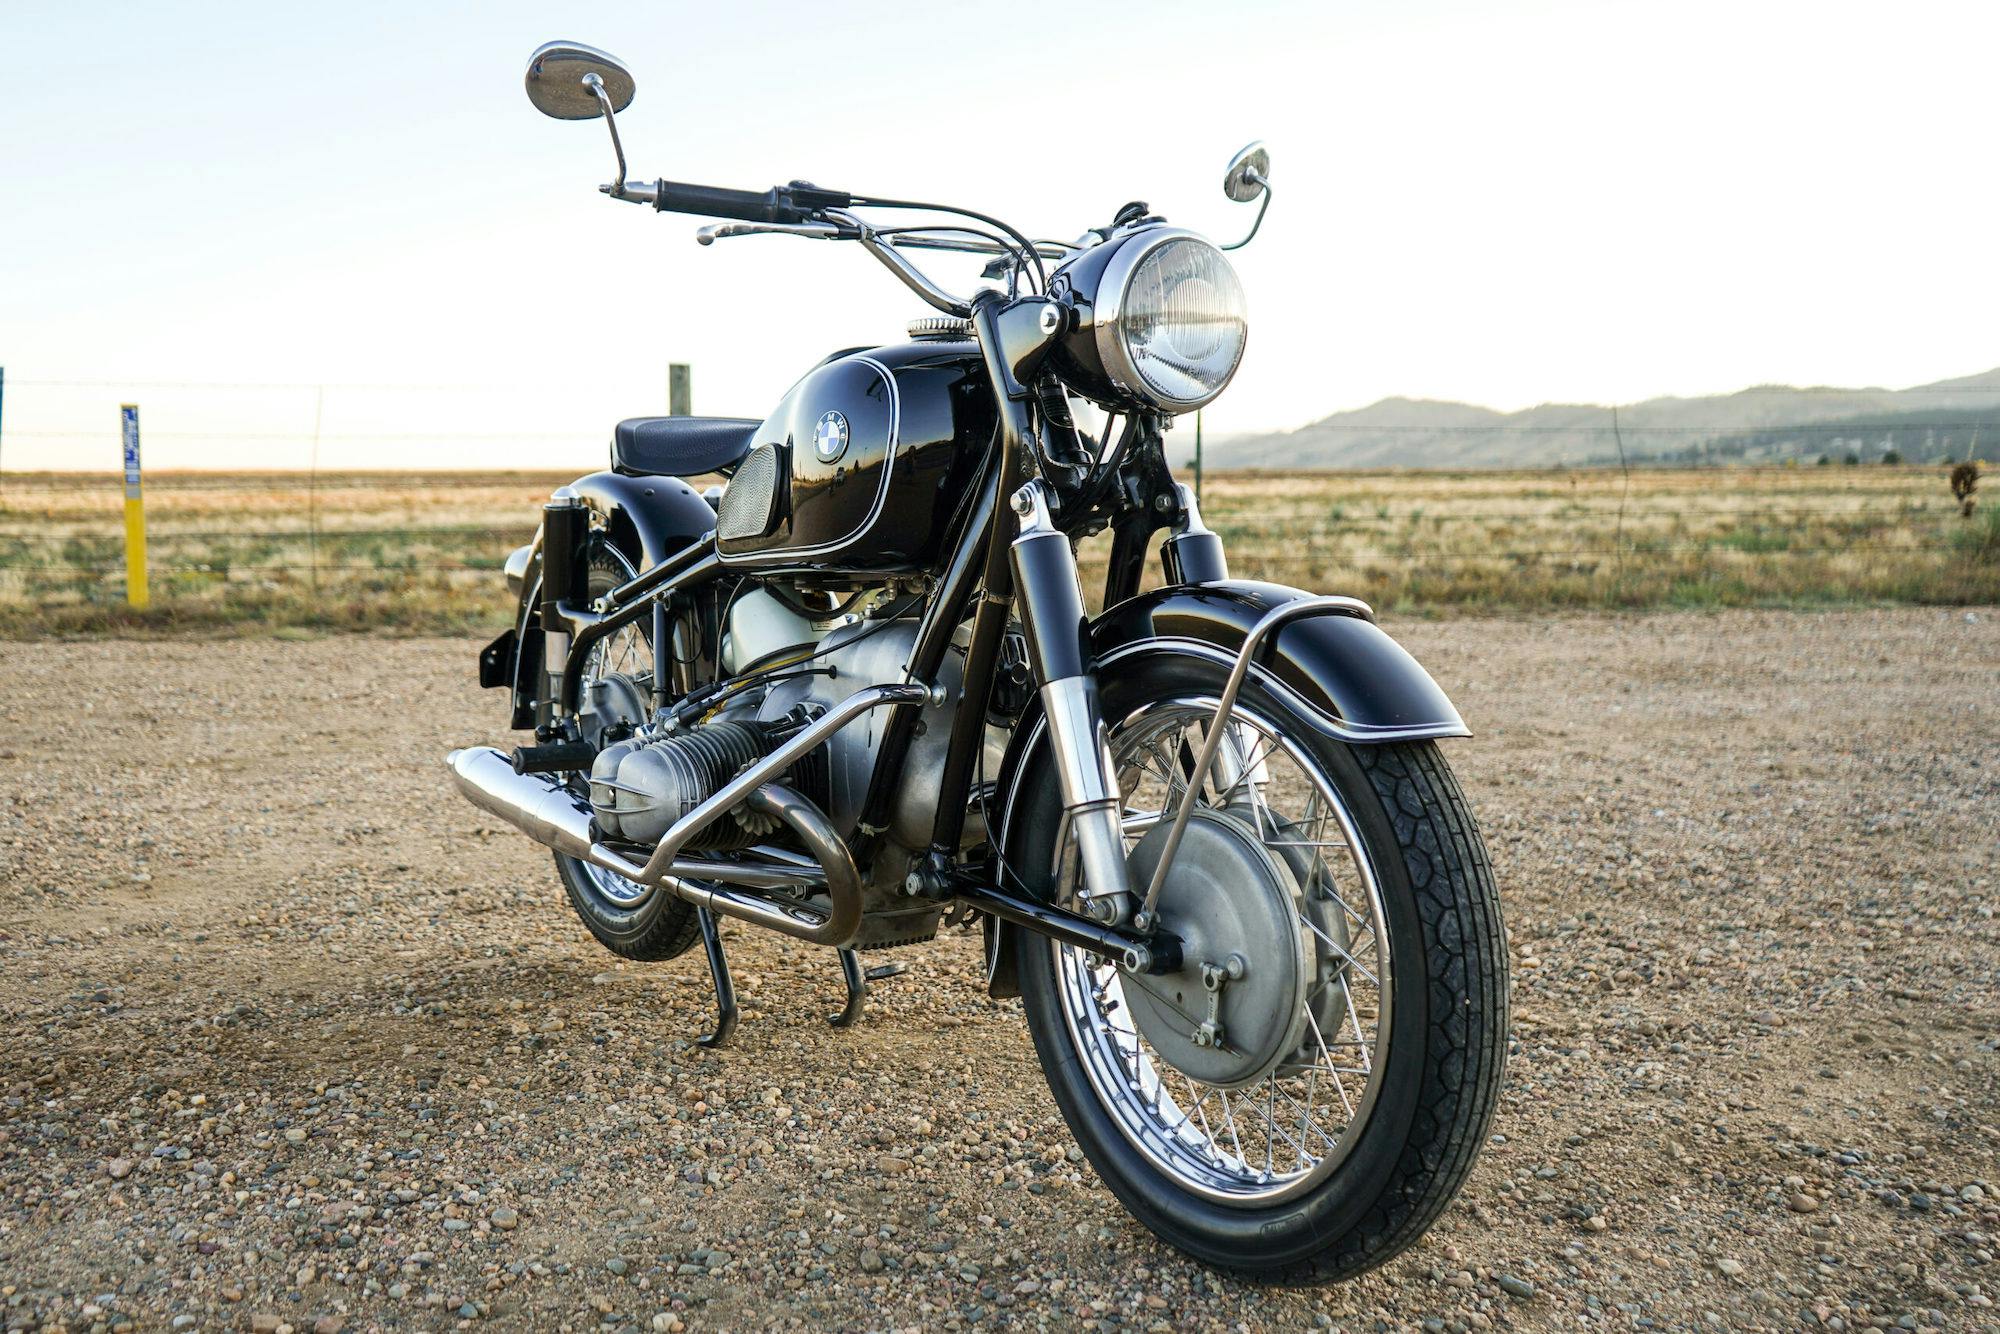
Alright, let me tell you about this old bike I picked up. A 1960s BMW motorcycle. Not sure of the exact year right off the bat, needed to check the numbers, but definitely from that era. Found it tucked away in a dusty corner of an old garage sale, looked like it hadn’t moved in decades.
Getting Started – The Big Cleanup
First thing was getting it back to my place. It was heavy, felt like solid iron. Once in my garage, the real work began. It was covered in grime, layers of dirt, some surface rust here and there. Didn’t even try to start it. Knew it would need a good going-over first.
Spent a whole weekend just cleaning. Used degreaser, soapy water, brushes, rags – you name it. Lots of elbow grease. Slowly, the actual bike started to show through. The paint was faded, chipped in places, but the core machine seemed mostly complete, which was a huge relief. Didn’t see any major crash damage, just the expected wear and tear from years of use and then years of sitting.
Taking Things Apart
Next step was disassembly. I always take tons of pictures before and during this phase. Helps immensely when putting it back together, trust me. Started taking off the easy bits: seat, tank, fenders, wheels. Everything was a bit stiff, bolts needed persuading with penetrating oil and sometimes a bit of heat.
- Tank came off, surprisingly clean inside, just some old gas residue.
- Wheels were crusty, spokes needed attention.
- Pulled the engine and transmission out as a unit. That was a grunt.
Laid everything out, bagged and tagged all the bolts and small parts. You learn pretty quick that organization is key unless you want a pile of mystery hardware later.
Engine and Guts
The engine was the big question mark. Decided to at least pull the heads and cylinders. Good news – the internals looked okay! No major scoring, pistons moved freely. Still, decided to do a basic refresh. Cleaned up the carbon, checked the valves, put in new gaskets and seals. Didn’t go for a full bottom-end rebuild yet, figured I’d see how it runs first. Cleaned the carbs, too. They were gummed up pretty bad, needed a good soak and rebuild kits.
Frame, Suspension, and Brakes
With the engine out, I gave the frame a good inspection and cleaning. Touched up some paint chips to prevent rust. The suspension felt tired, so I replaced the fork oil and checked the rear shocks. They seemed okay for now, might upgrade later. Brakes needed a complete overhaul – new shoes, cleaned the drums, checked the cables. You don’t mess around with brakes on these old things.
Putting It Back Together
Reassembly is usually slower than taking it apart. Cleaned every bolt before it went back in. Started with the rolling chassis – getting the wheels (after cleaning the spokes and checking the bearings), suspension, and frame back together. Then wrestled the engine back into the frame. Connected the drive shaft, hooked up the transmission.
Wiring was surprisingly okay on this one. Cleaned the contacts, checked the loom for obvious damage, put in a new battery. Connected the tank, fuel lines, throttle cables, clutch cable. Put the fenders and seat back on. It was starting to look like a motorcycle again!
First Start and Finishing Touches
Double-checked everything. Oil in the engine, gear oil in the transmission and final drive. Put some fresh gas in the tank. Turned the key, kicked it over a few times… and it sputtered to life! Rough at first, but it ran. Let it warm up, fiddled with the carb adjustments. That sound of an old boxer engine rumbling is just fantastic.
Still some things to do. Needs proper tuning, maybe some cosmetic work on the paint later. But for now, it runs, it stops, and it’s a complete bike again. Took a lot of weekends, skinned knuckles, and head-scratching moments, but seeing it roll out of the garage under its own power? Totally worth it. It’s a piece of history, back on the road, or at least, ready for short trips around the block for now.