Alright, let’s talk about this DT Yamaha 250 project I’ve been tinkering with. It’s been a journey, let me tell you.
The Backstory
So, I picked up this old DT250 a while back. It was sitting in a barn, covered in dust, looking pretty sorry for itself. The guy I got it from said it hadn’t run in years. I saw potential, though. I always loved the classic look of these bikes. Figured it would be a fun project to get it back on the road.
The Tear Down
First things first, I hauled it back to my garage and started tearing it down. And I mean everything. I wanted to see the full extent of what I was dealing with. Engine out, wheels off, plastics stripped… you name it. It was a mess. Rust everywhere, wires frayed, carb gummed up – the usual stuff.
Engine Rebuild
- The Top End: The engine was the biggest challenge. Started with the top end. The piston was seized in the cylinder. Had to use some penetrating oil and a lot of persuasion to get it out. Cylinder was scored, so I had it bored out and got a new piston and rings. Lapped the head, replaced the valve stem seals.
- The Bottom End: Then I moved onto the bottom end. Split the cases, checked the bearings, replaced the crankshaft seals. Everything looked surprisingly good down there, considering. Gave it all a good cleaning and put it back together with new gaskets.
- Carb Cleaning: Of course, the carburetor was a disaster. Completely gummed up with old fuel and varnish. Soaked it in carb cleaner for a day, then went through every jet and passage with a fine wire. Replaced the floats and needle valve.
Frame and Suspension
While the engine was out, I tackled the frame. Wire brushed all the rust off, primed it, and gave it a fresh coat of paint. Looked a million times better already.
- Forks: The forks were leaking, so I rebuilt them with new seals and oil. Not too difficult, just a little messy.
- Shocks: The rear shocks were shot, so I replaced them with some aftermarket ones. Nothing fancy, just something to get it riding smoothly again.
Wheels and Brakes
The wheels were in decent shape, just needed some cleaning and polishing. I replaced the tires with some new rubber. The old ones were cracked and dry-rotted.
- Brakes: The brakes were another story. The front brake was completely seized. Rebuilt the master cylinder and caliper, replaced the brake pads and hose. The rear brake was simpler, just needed some new shoes and a good cleaning.
Electrical System
The wiring was a rat’s nest. Wires were cracked and brittle. I ended up rewiring most of the bike. New wiring harness, new lights, new switches. It was tedious, but worth it to have a reliable electrical system.
Putting It All Back Together
Once all the individual components were rebuilt or replaced, it was time to put it all back together. This was the fun part. Seeing the bike slowly come back to life was really rewarding.
The First Start
After weeks of work, the moment of truth arrived. I filled it with fresh gas, turned the key, and kicked it over. It took a few tries, but then… VROOM! It fired up! Sounded rough at first, but after a little tuning, it settled into a smooth idle. I was stoked!

The First Ride
Took it for a spin around the block. Felt amazing to be riding it after all that work. Everything seemed to be working great. Brakes were good, suspension was smooth, engine ran strong.
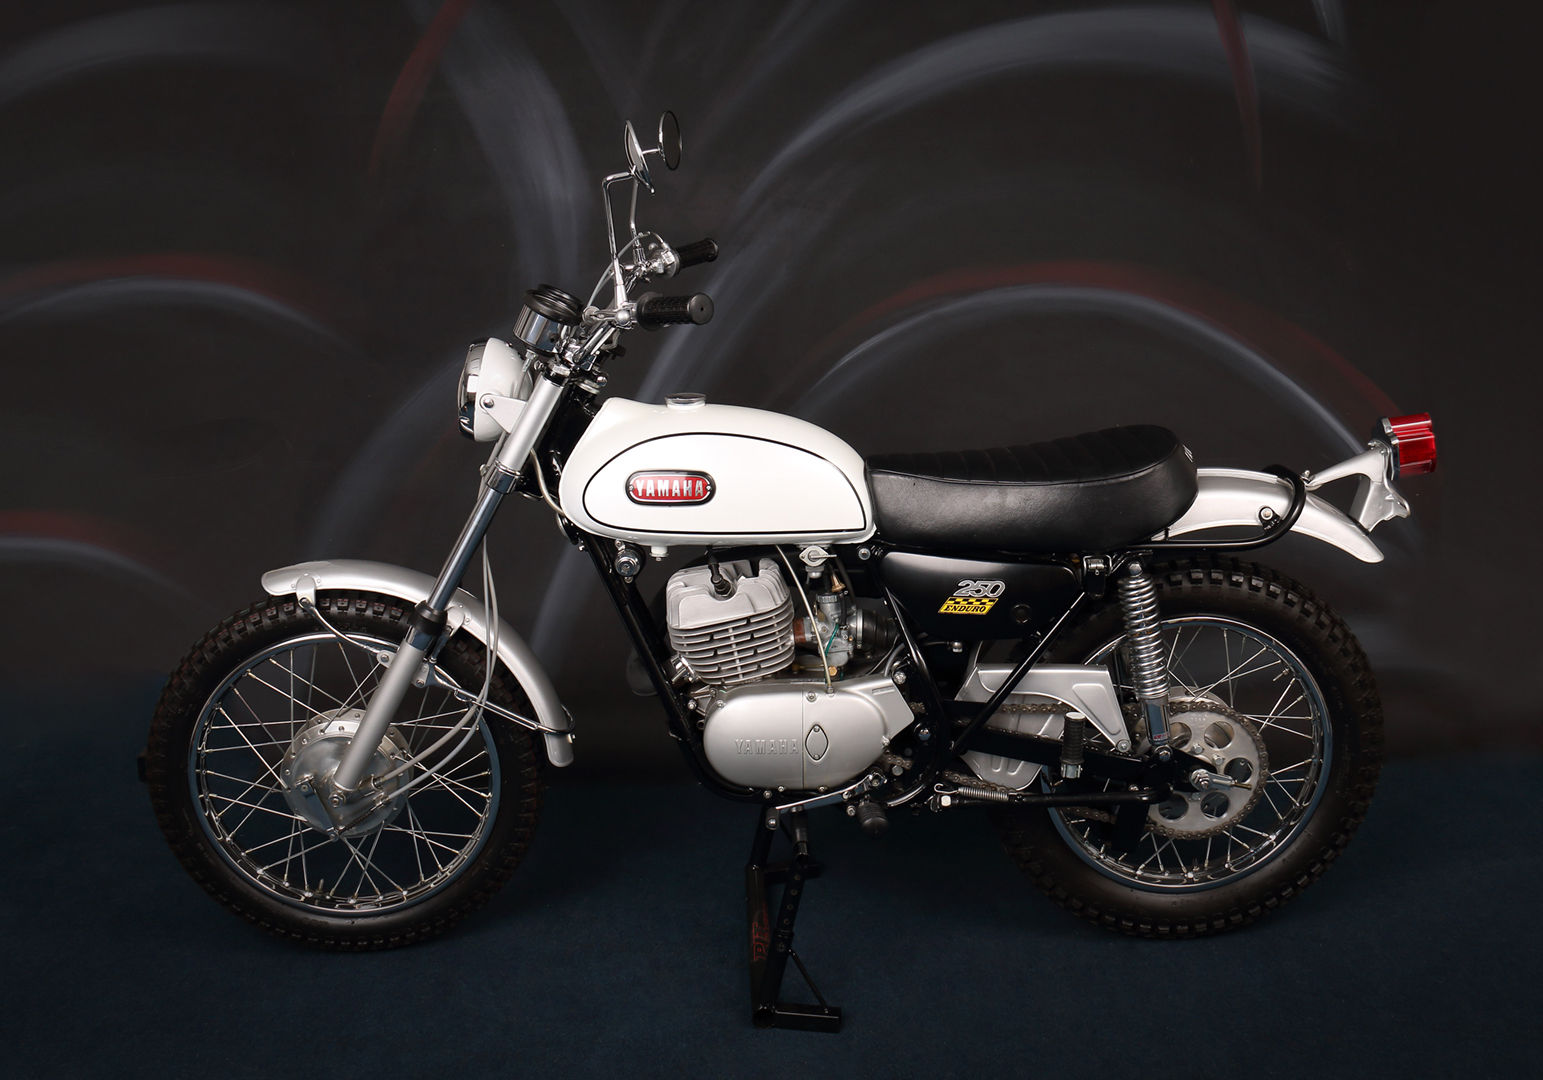
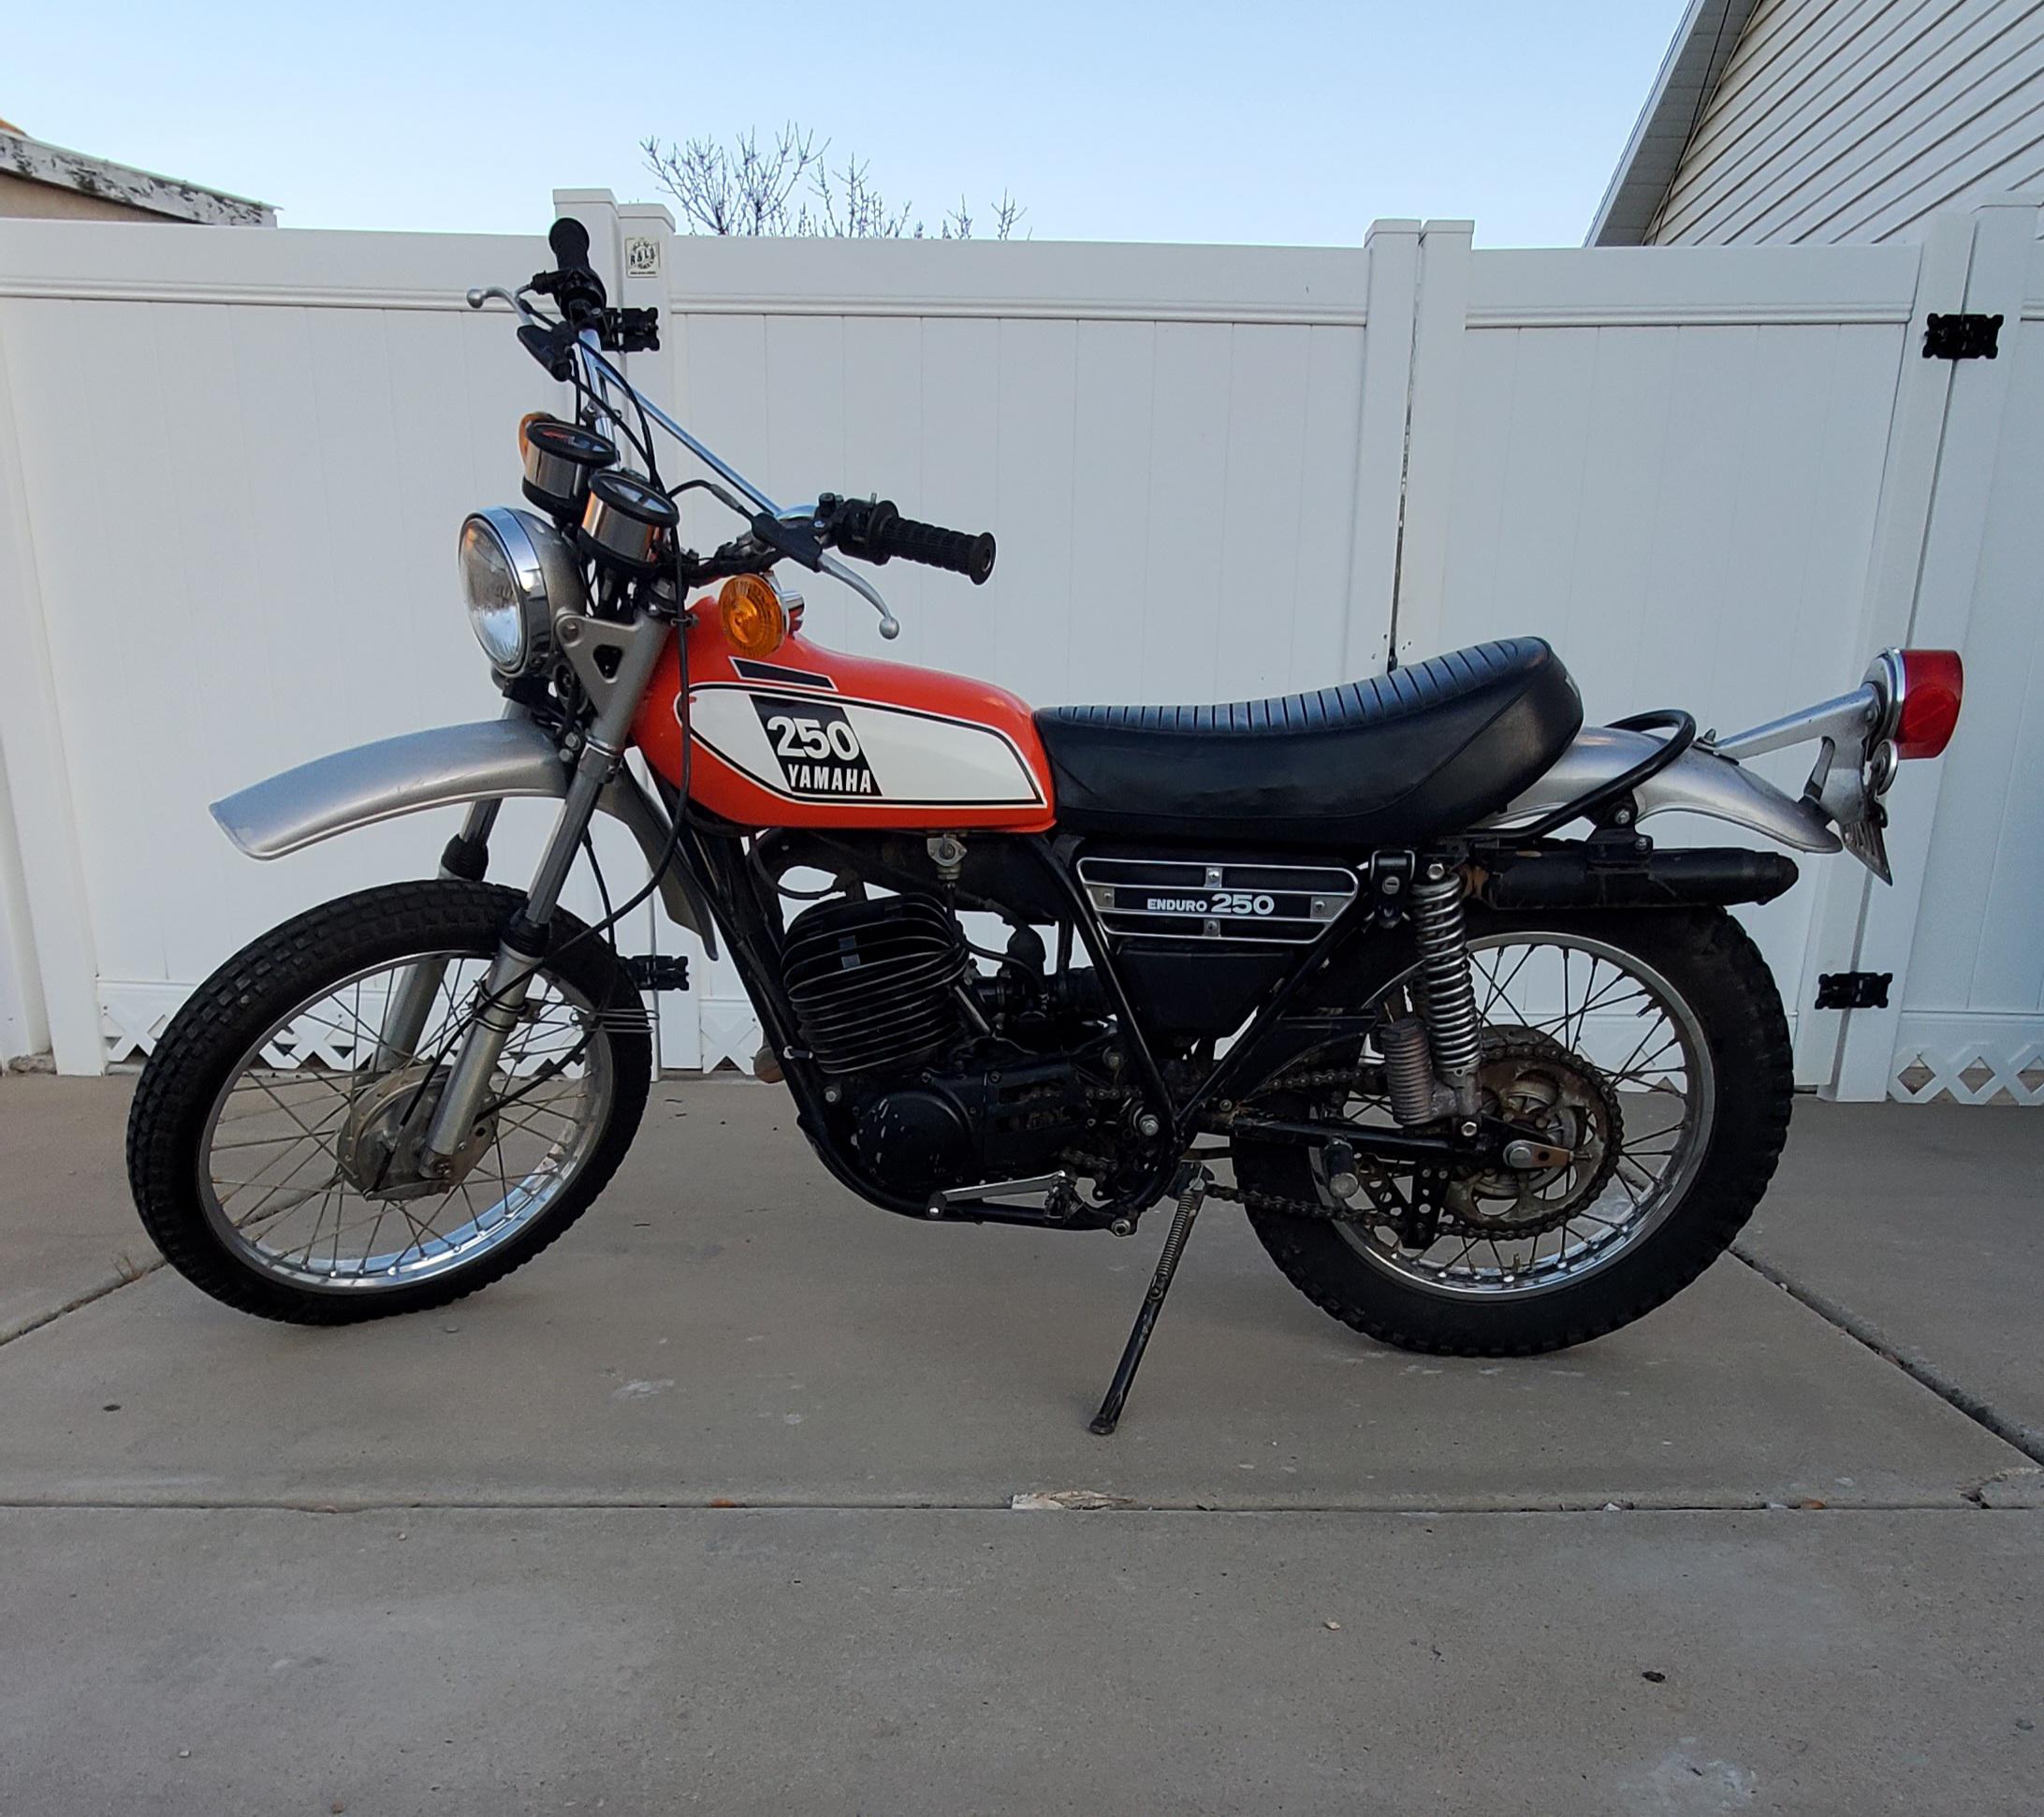
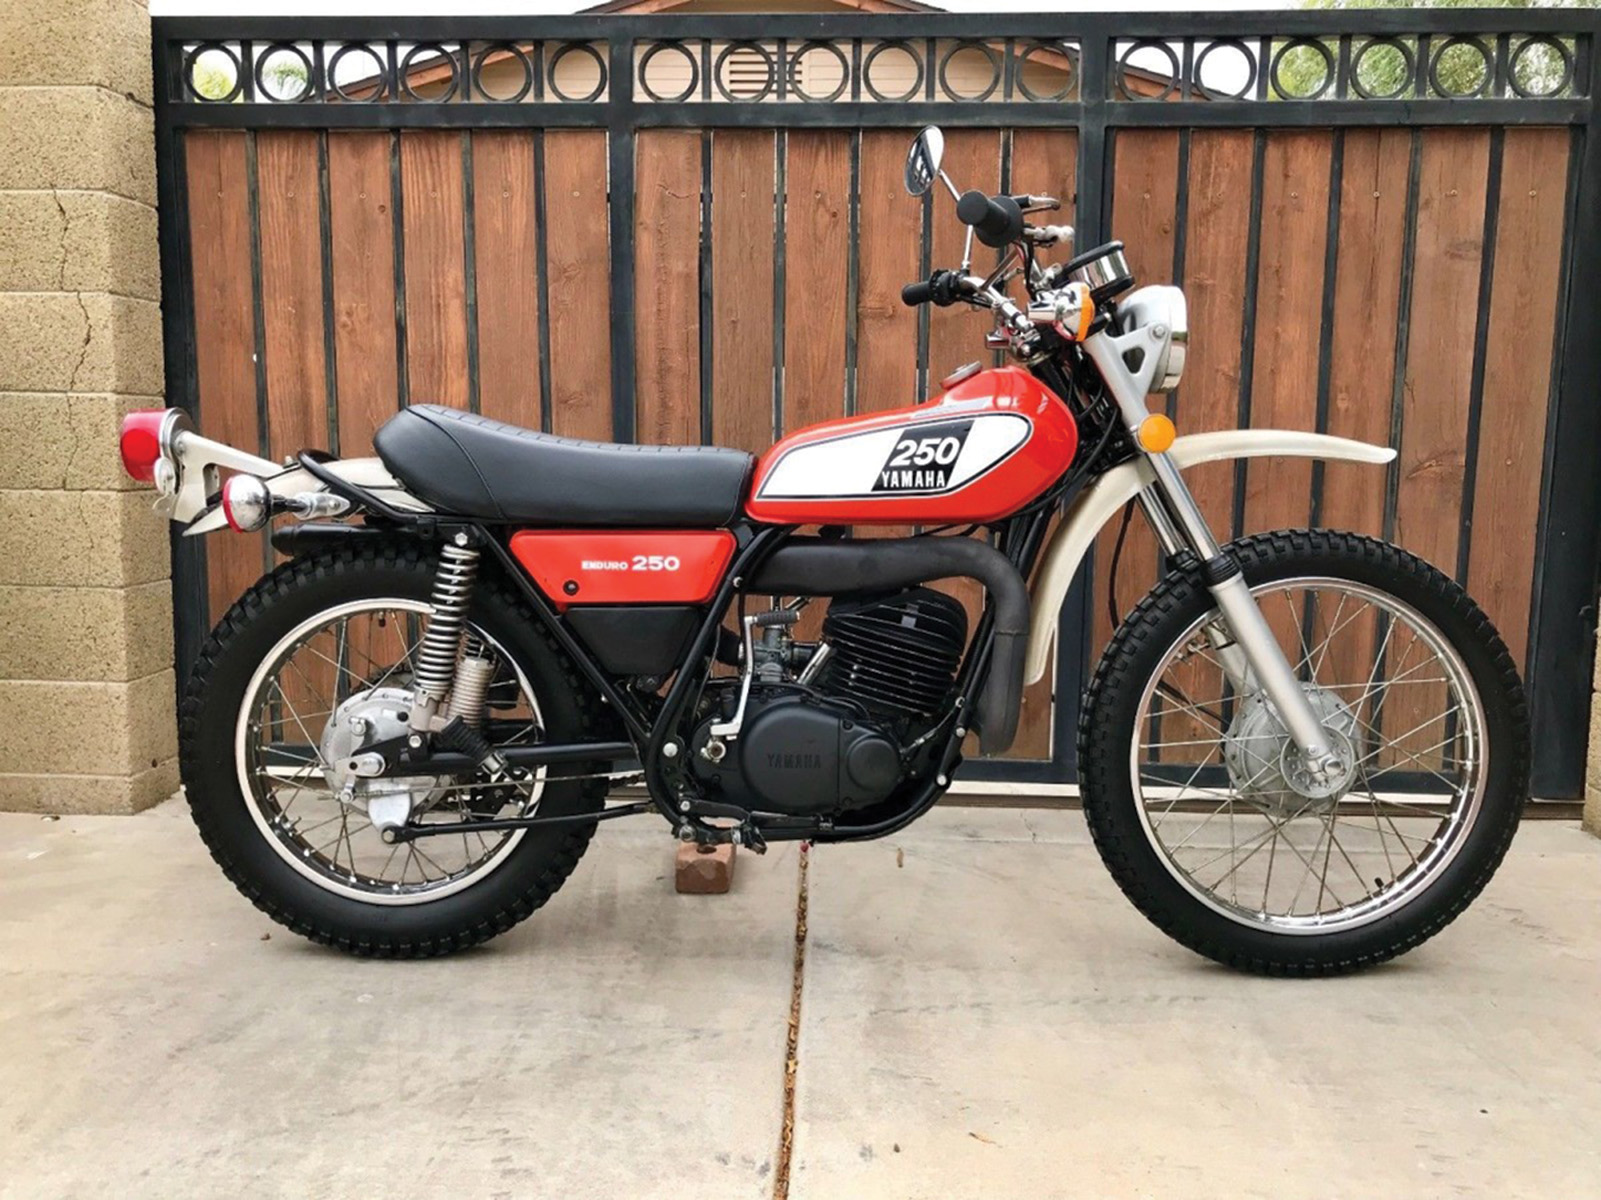
The Finished Product
Lessons Learned
- Patience is key. Don’t rush things, take your time and do it right.
- Don’t be afraid to ask for help. There are tons of resources online and plenty of people who are willing to share their knowledge.
- Enjoy the process. It’s not just about getting the bike running, it’s about the experience of bringing something back to life.
So, yeah, that’s the story of my DT Yamaha 250 rebuild. It was a lot of work, but it was totally worth it. Now I have a classic bike that I can be proud of. Next project… who knows?