

Okay, so my motorcycle’s clutch started slipping. It was revving high but not really going anywhere fast, classic sign. I figured, I’ve done some basic car maintenance, how hard could it be to swap out a motorcycle clutch? Turns out, it’s not rocket science, but you gotta be methodical.

Gathering Supplies and Tools
First things first, I gathered everything I needed. This meant new clutch plates (I went with an OEM kit to be safe), fresh oil, a new gasket for the clutch cover, and of course, my tools. I made sure I had a socket set, wrenches, a torque wrench (super important!), and some pliers. A clean workspace is also key, so I laid down some cardboard on my garage floor.
Draining the Old Oil
Next, I warmed up the bike for a few minutes – just enough to get the oil flowing. Then, I positioned a drain pan underneath and removed the oil drain plug. I let it all drain out completely. While that was happening, I took off the clutch cable, making sure to remember how it was routed.
Removing the Clutch Cover
With the oil drained and the cable disconnected, I started on the clutch cover bolts. These can be stubborn, so I made sure my socket was firmly seated before applying any force. I loosened them in a criss-cross pattern to avoid warping the cover. Once they were all out, I gently tapped the cover with a rubber mallet to break the seal, and carefully pulled it off.
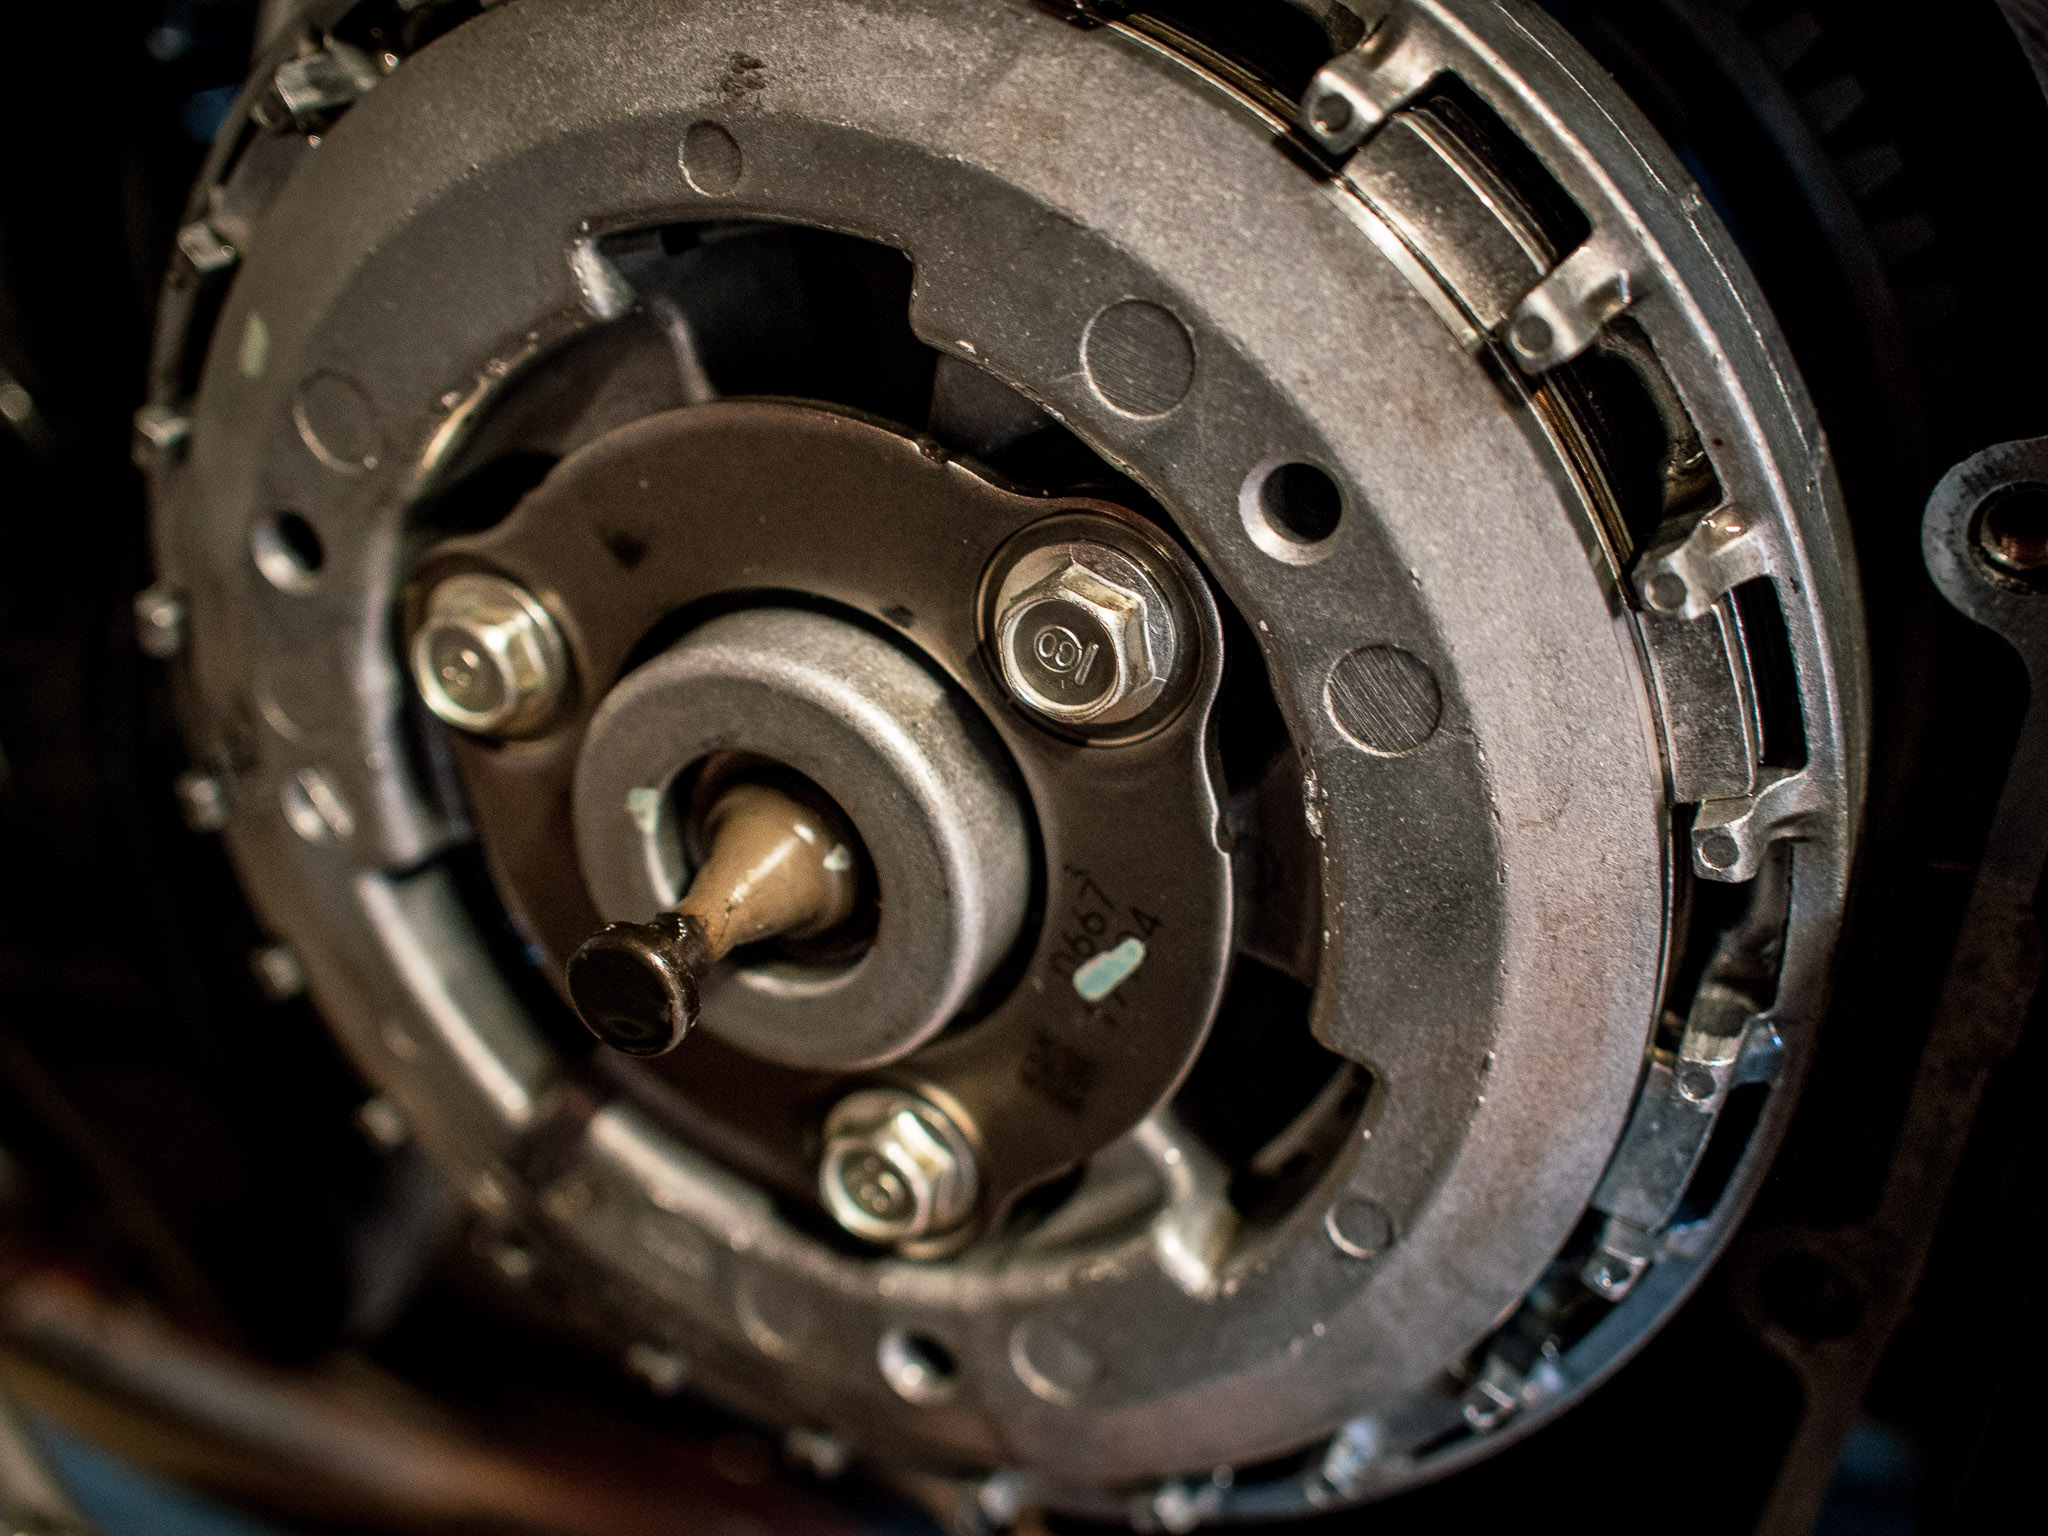
Inspecting and Replacing the Clutch Plates
There it was, the clutch assembly in all its glory. I removed the pressure plate bolts (again, in a criss-cross pattern) and took off the pressure plate. Now I could see the clutch plates – a stack of friction plates and steel plates. I carefully pulled them out, keeping them in order. I inspected each one, and yep, they were definitely worn. I soaked the new friction plates in fresh oil for about an hour, as the instructions suggested.
Reassembling Everything
After the soak, I started putting the new plates back in, alternating between friction and steel plates, just like the old ones came out. I made sure they were all properly seated. Then, I reinstalled the pressure plate and tightened its bolts, again in a criss-cross pattern, and most importantly, I used my torque wrench to get them to the exact specification listed in the service manual. Too loose and it’ll slip, too tight and you could damage something.
Putting It All Back Together
With the new clutch pack in place, I cleaned the mating surfaces of the clutch cover and engine case. I installed the new gasket and carefully put the cover back on. I tightened the cover bolts, again using the criss-cross pattern and my torque wrench. Finally, I reconnected the clutch cable and adjusted it until I had the right amount of free play at the lever.
Final Steps and Testing
I refilled the engine with the correct amount of fresh oil. Before starting the bike, I double-checked everything – bolts, cable, oil level. Then, I fired it up and slowly let out the clutch. It felt good! No more slipping. I took it for a short test ride, gradually increasing speed and shifting through the gears. Success! The clutch felt smooth and engaged perfectly.
It might not be perfect words, but I’m sharing my own * saved me a good chunk of change doing it myself, and I learned a lot in the process. Just take your time, follow the steps, and you can probably do it too!